Capturing test evidence that is still useful next month
SnapShelf is a $49 one-time macOS 13+ app for QA work: record a whole regression pass, auto-file captures into a per-cycle folder, extract build numbers from screenshots with OCR, and export a set of captures as a single multi-page PDF report.
Last updated
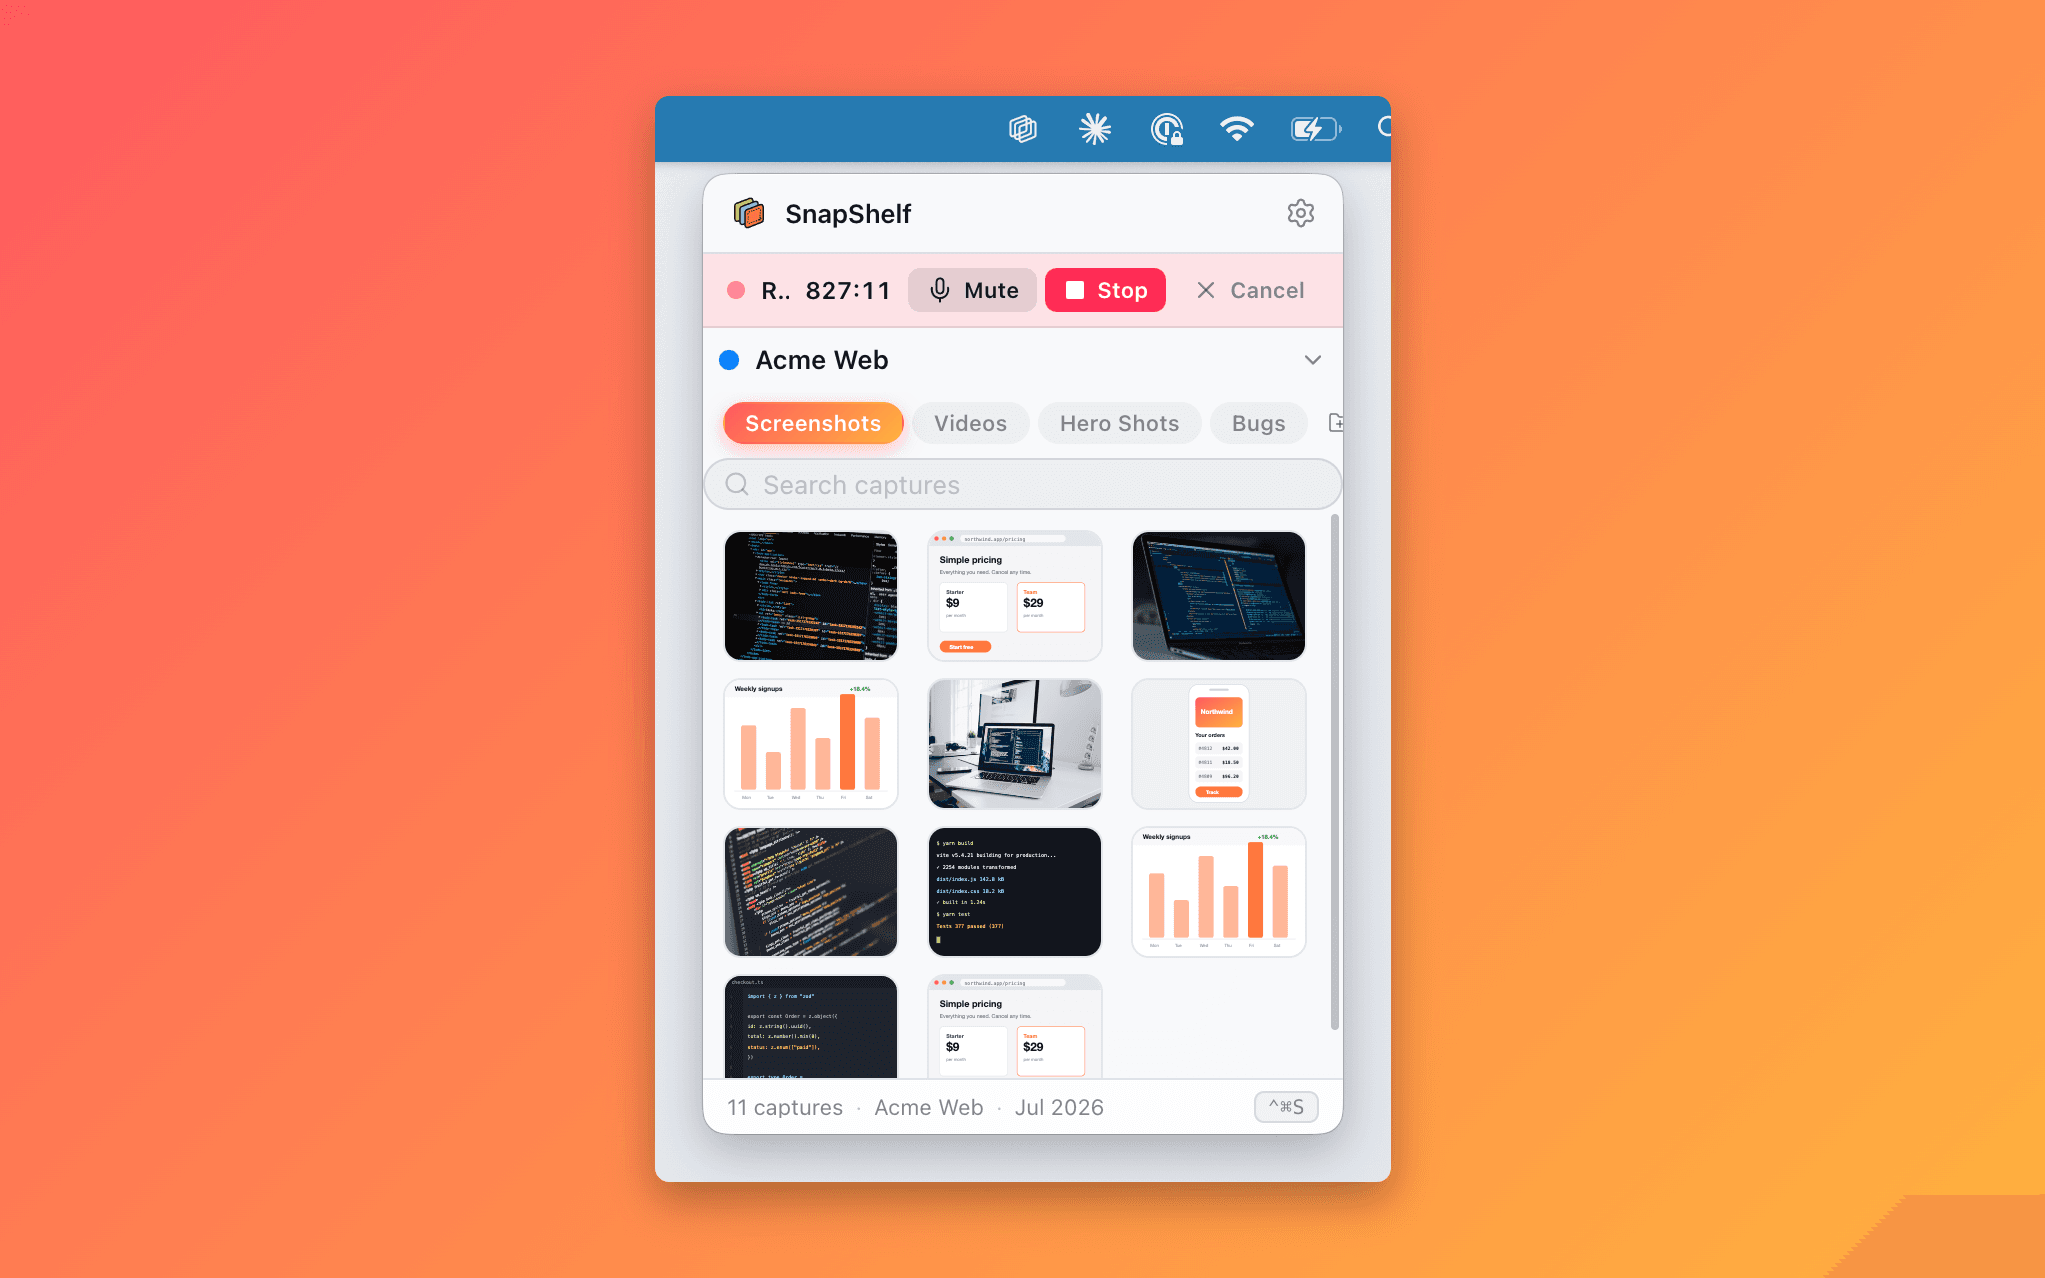
The recording panel with the microphone off and system audio on, mid-capture of a regression test run.
A screenshot and a piece of evidence are not the same thing
A screenshot shows that something looked wrong. Evidence shows that something looked wrong, on a specific build, in a specific environment, during a specific test case, at a time you can point to. The second one survives the conversation where a developer says they cannot reproduce it.
This is the constraint QA works under that no other role does. Design feedback can be vague and get resolved in a follow-up. A failed test result that cannot be traced to a build number is functionally worthless — it will be closed as "cannot reproduce" and reopened by a customer three weeks later.
So the workflow question is not "how do I take a screenshot faster". It is "how does the screenshot stay attached to its context all the way to the ticket".
One folder per test cycle
The organising unit for QA evidence is the cycle, not the day and not the feature. Everything from the 2.4.0 regression pass belongs together, because that is the unit someone will ask about later.
Auto-filing gets you most of this for free, once you set it up: no rules ship by default, so the first thing you do is write one. SnapShelf then reads the frontmost app and window title when you capture and routes the file accordingly, so captures from your staging browser land in the cycle folder without you moving anything. When a rule does not match, the capture goes into the active project’s screenshots folder rather than disappearing — and if you have no project at all, the app quietly makes one called "My Captures" — which matters during a pass, when you are moving fast and not curating.
Point the rule at a fresh folder at the start of each cycle. It takes ten seconds and it means the evidence for a release is a directory you can zip and hand over, rather than 200 files scattered through Desktop and Downloads.
Getting the build number into the evidence is the other half. Screenshot the version string once at the start of the pass, and on-device OCR will pull the exact build identifier out as text you can paste into every ticket in that cycle — no transcription errors on a long hash.
Catching a failure that only happens sometimes
Intermittent failures are the ones where capture strategy actually matters, because by the time you have seen it, it is gone. The answer is to record the run rather than screenshot the result.
- 1Before starting the test case, open the Record tab and start recording with the mic off — a silent capture keeps the file small and avoids recording the open-plan office
- 2Run the test case at normal speed, including the setup steps you would normally skip describing
- 3When the failure occurs, keep recording for a few seconds afterwards so the resulting state is captured too
- 4Stop, then trim the recording down to the twenty seconds around the failure — split at the playhead and drop the setup if the setup is not part of the bug
- 5Export as GIF for a short repro that autoplays in the ticket, or MP4 when the failure takes longer than about fifteen seconds to reach
- 6Attach the clip to the test case in TestRail, Xray, or your tracker, alongside the OCR-extracted build number
The multi-page PDF run report
For a full regression pass, individual attachments scattered across thirty test cases are hard to review as a whole. Selecting the captures in the gallery and exporting them as one multi-page PDF gives you a document per cycle: ordered, annotated, and reviewable in one sitting by someone who was not in the pass.
Reorder the pages to follow the test plan order rather than capture order. Add a step badge and a one-line text label on each image identifying the test case ID. That turns a pile of PNGs into something a release manager can actually sign off against.
Where SnapShelf is explicitly not a QA tool
It does not run tests, assert anything, or compare screenshots between builds. There is no visual-regression diffing, no baseline image comparison, no threshold tuning. That is Playwright, Cypress, Percy, or similar, and if you need automated visual regression you need one of those, not this.
It captures no technical metadata. Console errors, network requests, device details, and application state are not recorded — a screenshot is pixels. Pair it with your browser devtools export or a session-replay tool when the bug needs that layer.
It has no test-management integration beyond the Jira hand-off. Attaching evidence to a TestRail case is still a manual upload.
And macOS ⌘⇧5 will record a screen for free. The reasons to pay here are auto-filing into cycle folders, one-click GIF export, and the annotation and OCR that make the evidence traceable — not the recording itself.
Try SnapShelf
$49 once — 2 years of free updates, no subscription, and everything stays on your Mac. 30-day money-back guarantee.
macOS 13+ · Apple Silicon & Intel
FAQ
Questions, answered
Everything you need to know before buying.
Record the whole test run rather than trying to screenshot the moment. Start a silent recording before the test case, run it normally, keep recording for a few seconds after the failure, then trim to the twenty seconds around it and export as a GIF or MP4. Screen recording in SnapShelf →
Stop hunting for screenshots. Start shipping.
Every capture filed, annotated, recorded with cursor auto-zoom, and one right-click away from your Claude Code session. One-time $49, yours forever.
30-day money-back guaranteeOne-time purchase2 years of free updatesLocal-only datamacOS 13+ · Apple Silicon & Intel