Recording a tutorial without a three-app pipeline
SnapShelf is a $49 one-time macOS 13+ app that records a tutorial and edits it in the same place: automatic zoom-ins on every cursor click, one-click removal of silent gaps, a multi-track timeline, and MP4 or GIF export.
Last updated
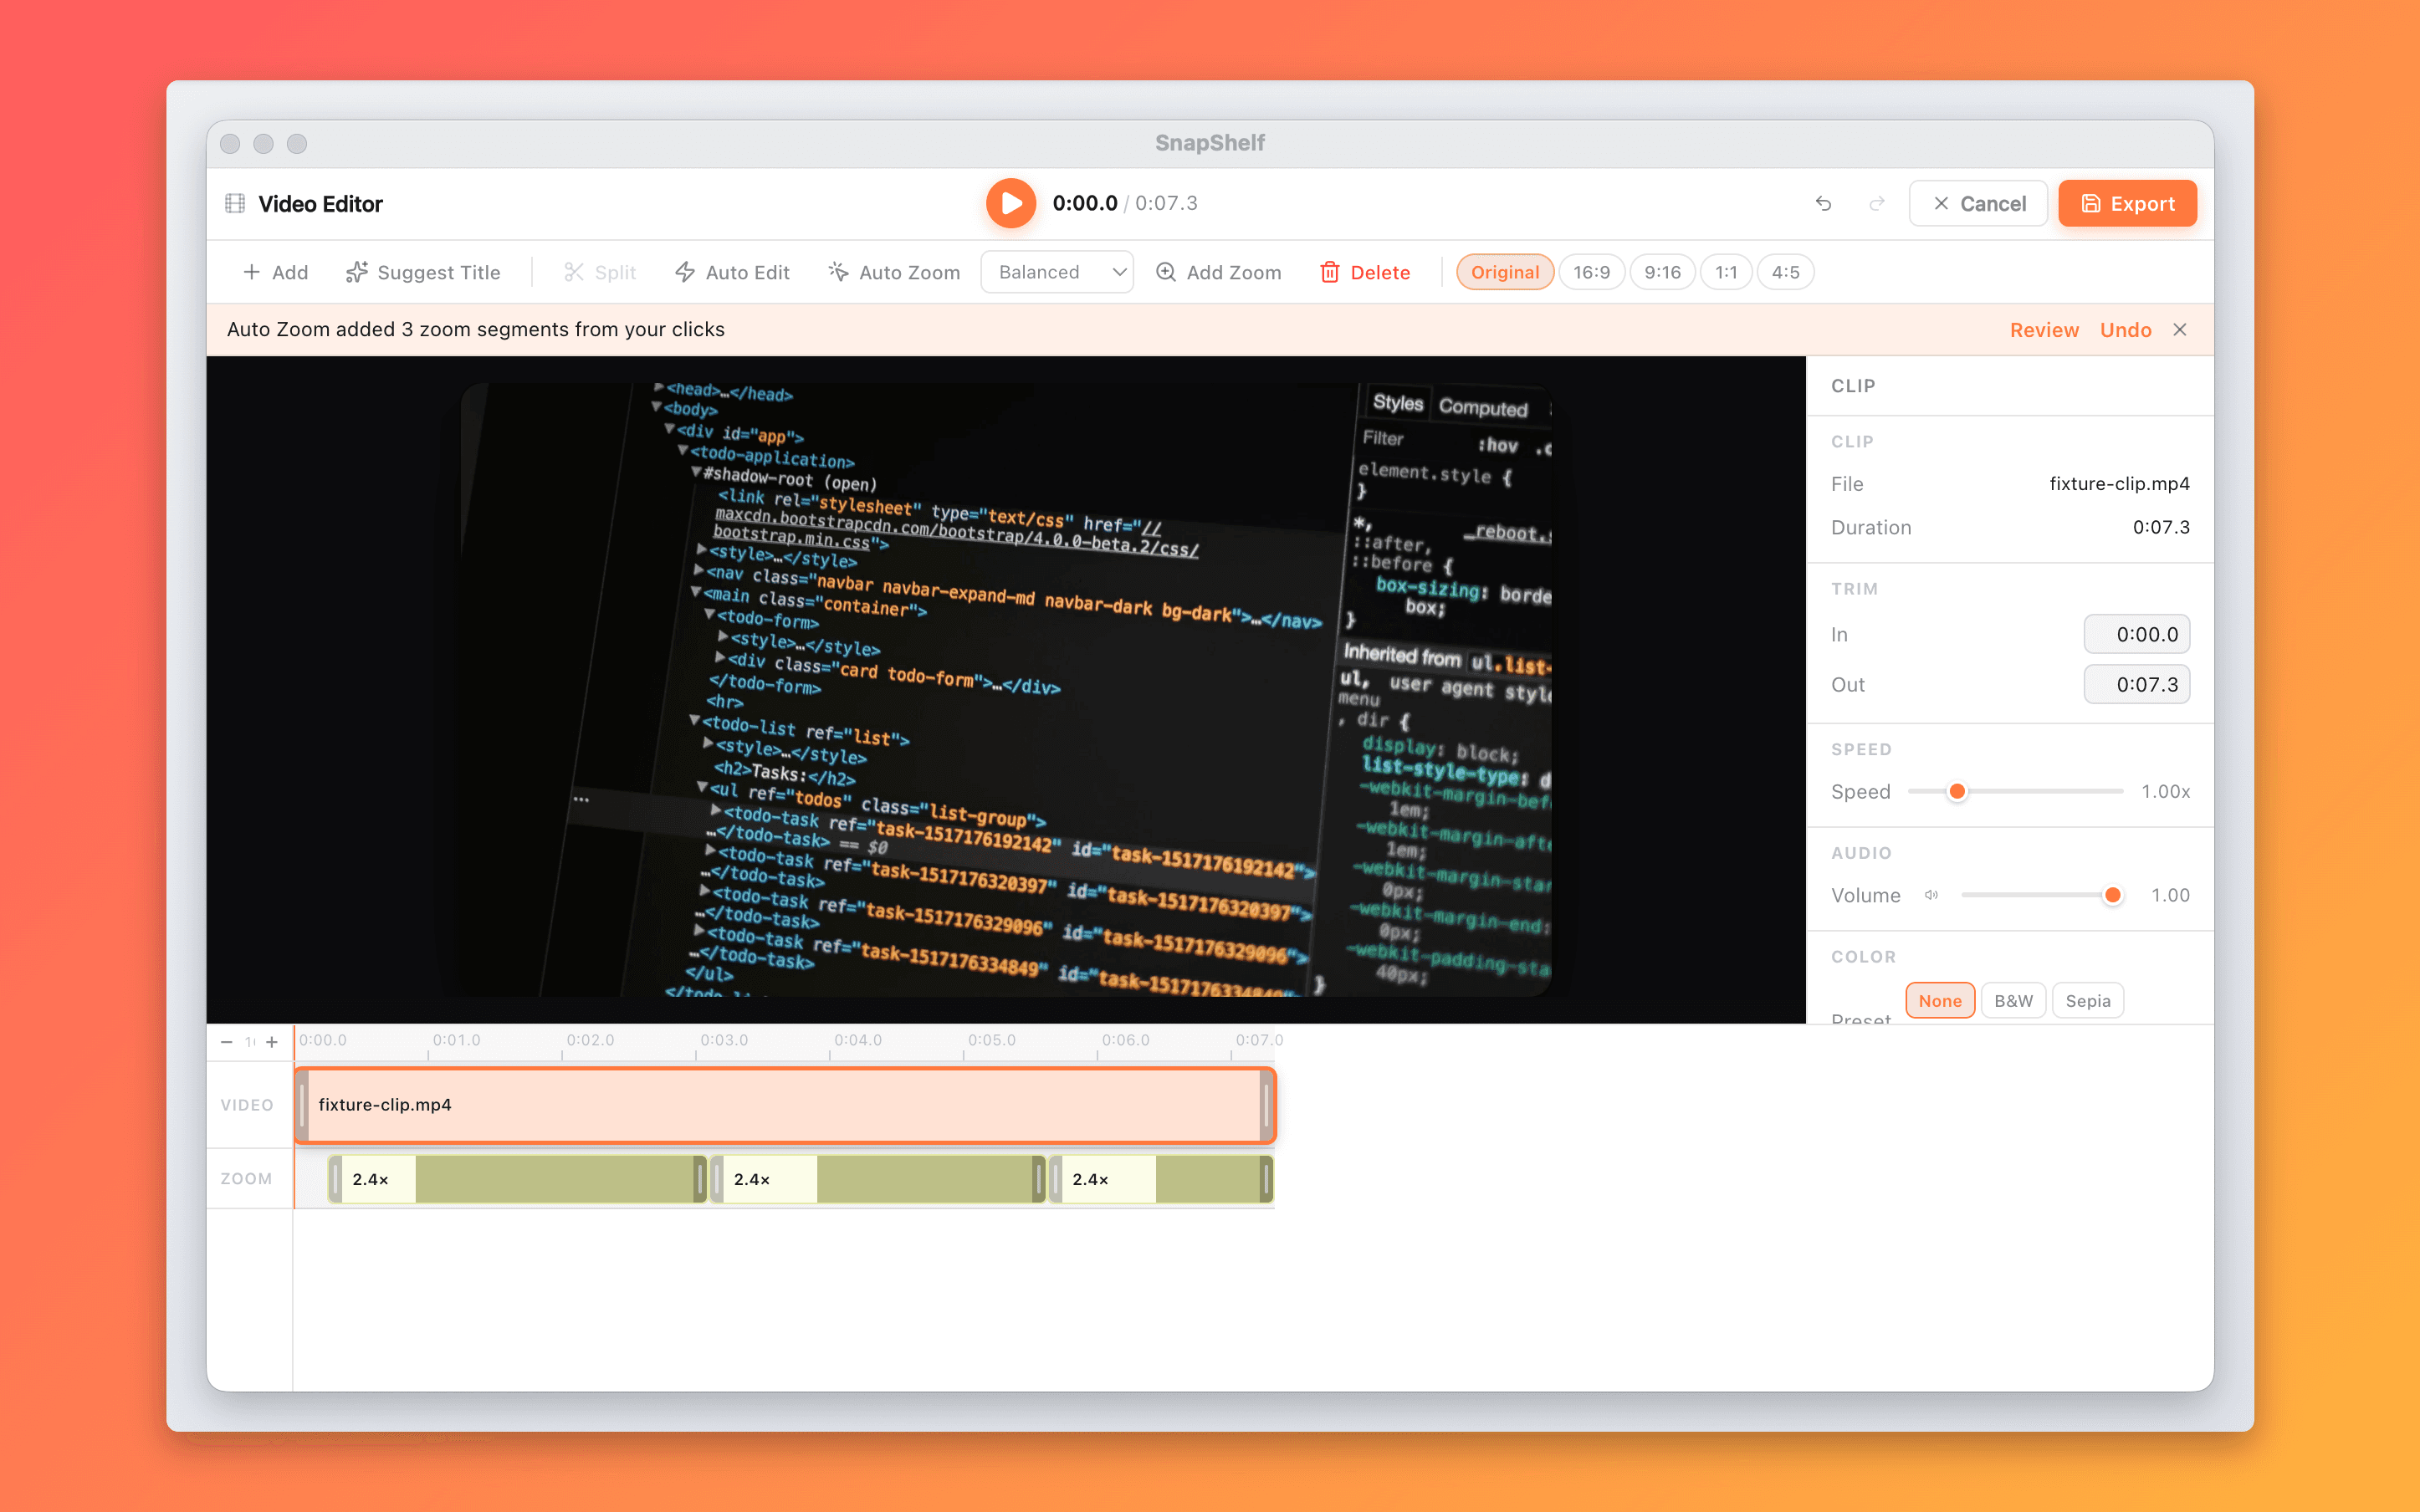
The multi-track timeline mid-edit: auto-zoom segments on the video track, a music track underneath, and Auto-Edit cuts marked.
The lesson you record is not the lesson you publish
Anyone who has made more than three tutorial videos knows the ratio. A clean fourteen-minute lesson takes maybe twenty-two minutes of recording — the false starts, the moment the terminal autocompletes wrong, the eight seconds of silence while you find the right tab — and then an hour of editing to get back down to fourteen.
Most of that hour is not creative work. It is trimming dead air, and it is zooming in so viewers on a laptop can read a 12px label in your editor. Both are mechanical. Both are the first things worth automating.
The rest of the hour is the part that actually needs you: cutting the tangent that went nowhere, reordering two steps because you explained them backwards, deciding the middle section is too slow. No tool does that.
Zooming: the thing that separates a screencast from a lesson
A full-screen 27-inch recording watched on a phone is unreadable, and roughly half of course viewing is not on a desktop. The fix is zooming into the region you are talking about. Doing it manually means keyframing a scale animation for every click, which is why most self-published tutorials do not do it and are harder to follow as a result.
SnapShelf records your cursor as data — click and scroll timing, never keystrokes and never characters — and the editor converts that into motion: an automatic zoom-in on every click with a smooth pull back out. It is applied when you open the recording, before you have done anything. You then tune the scale, focus point, and easing per segment where it matters and leave the rest.
On top of that there are click ripples, a cursor highlight glow, and a spotlight mode that dims everything outside a focus circle. None of them touch your export until you open the Cursor FX panel; when you do, ripples is the default-on choice and highlight and spotlight are both off, which is correct — spotlight on a whole lesson is exhausting. Turn it on for the ninety seconds where the viewer needs to look at one menu.
Screen Studio charges $89 for this class of motion polish and is genuinely better at the deepest presets. SnapShelf includes it, plus the screenshot side of the workflow, for $49.
A lesson from record to export
This is the whole pipeline in one app — no ScreenFlow import, no CapCut export-and-reimport, no round trip that re-encodes your footage twice.
- 1Open the Record tab, turn the mic on and system audio off unless the lesson has app sound, and record the lesson straight through with cursor data on
- 2Open the recording in the editor — cursor auto-zoom is already applied to every click
- 3Click Auto-Edit to detect and cut the silent gaps, then review the cuts and restore any pause you meant to leave in
- 4Trim the top and tail, split at the playhead to drop any tangent, and adjust per-clip speed for the parts that drag
- 5Add text overlays for the key commands, and a background music track at low volume with a fade-in and fade-out if the course uses one
- 6Pick your aspect-ratio option and export as MP4 — or, for a short loop for the course landing page, export the saved recording itself to GIF from the library
Reshoots, and how to avoid most of them
The single biggest time sink in course production is re-recording a whole lesson because of a mistake in minute nine. Split-at-playhead editing removes most of that need: you record the fix as a short standalone clip, drop it into the timeline where the mistake was, and the transitions cover the join. The multi-track editor has 44 transitions available per clip, and a simple cross-fade is usually the right one.
The related habit is to record with pauses. Leave two full seconds of silence before and after each section rather than talking continuously — Auto-Edit will remove the excess, and a clean silence is a clean cut point. Continuous talking is what makes footage hard to edit.
What SnapShelf will not do
It has no camera overlay compositing, no teleprompter, and no captions or transcript generation. If your course platform requires SRT files you are generating them elsewhere.
It has no iOS device recording. If the tutorial is about a phone app, Screen Studio covers that workflow and SnapShelf does not.
And it will not write the lesson. The reason tutorials are slow to make is that structuring an explanation is hard, and the recording is the easy part. Automating the editing buys you back an hour per lesson; it does not buy you the script.
Try SnapShelf
$49 once — 2 years of free updates, no subscription, and everything stays on your Mac. 30-day money-back guarantee.
macOS 13+ · Apple Silicon & Intel
FAQ
Questions, answered
Everything you need to know before buying.
Yes — ⌘⇧5 records the screen or a selected region with microphone audio and is free. It cannot capture system audio without a virtual audio device, has no editor beyond a basic trim, and has no zooming. For a one-off walkthrough it is fine. For a course, the editing gap is the problem.
Stop hunting for screenshots. Start shipping.
Every capture filed, annotated, recorded with cursor auto-zoom, and one right-click away from your Claude Code session. One-time $49, yours forever.
30-day money-back guaranteeOne-time purchase2 years of free updatesLocal-only datamacOS 13+ · Apple Silicon & Intel