How to auto-organise Mac screenshots by project
Finder Smart Folders group screenshots into saved searches for free, Hazel moves and renames them after they hit disk, and capture-time tools like SnapShelf ($49 once, macOS 13+) route by frontmost app and window title.
Last updated
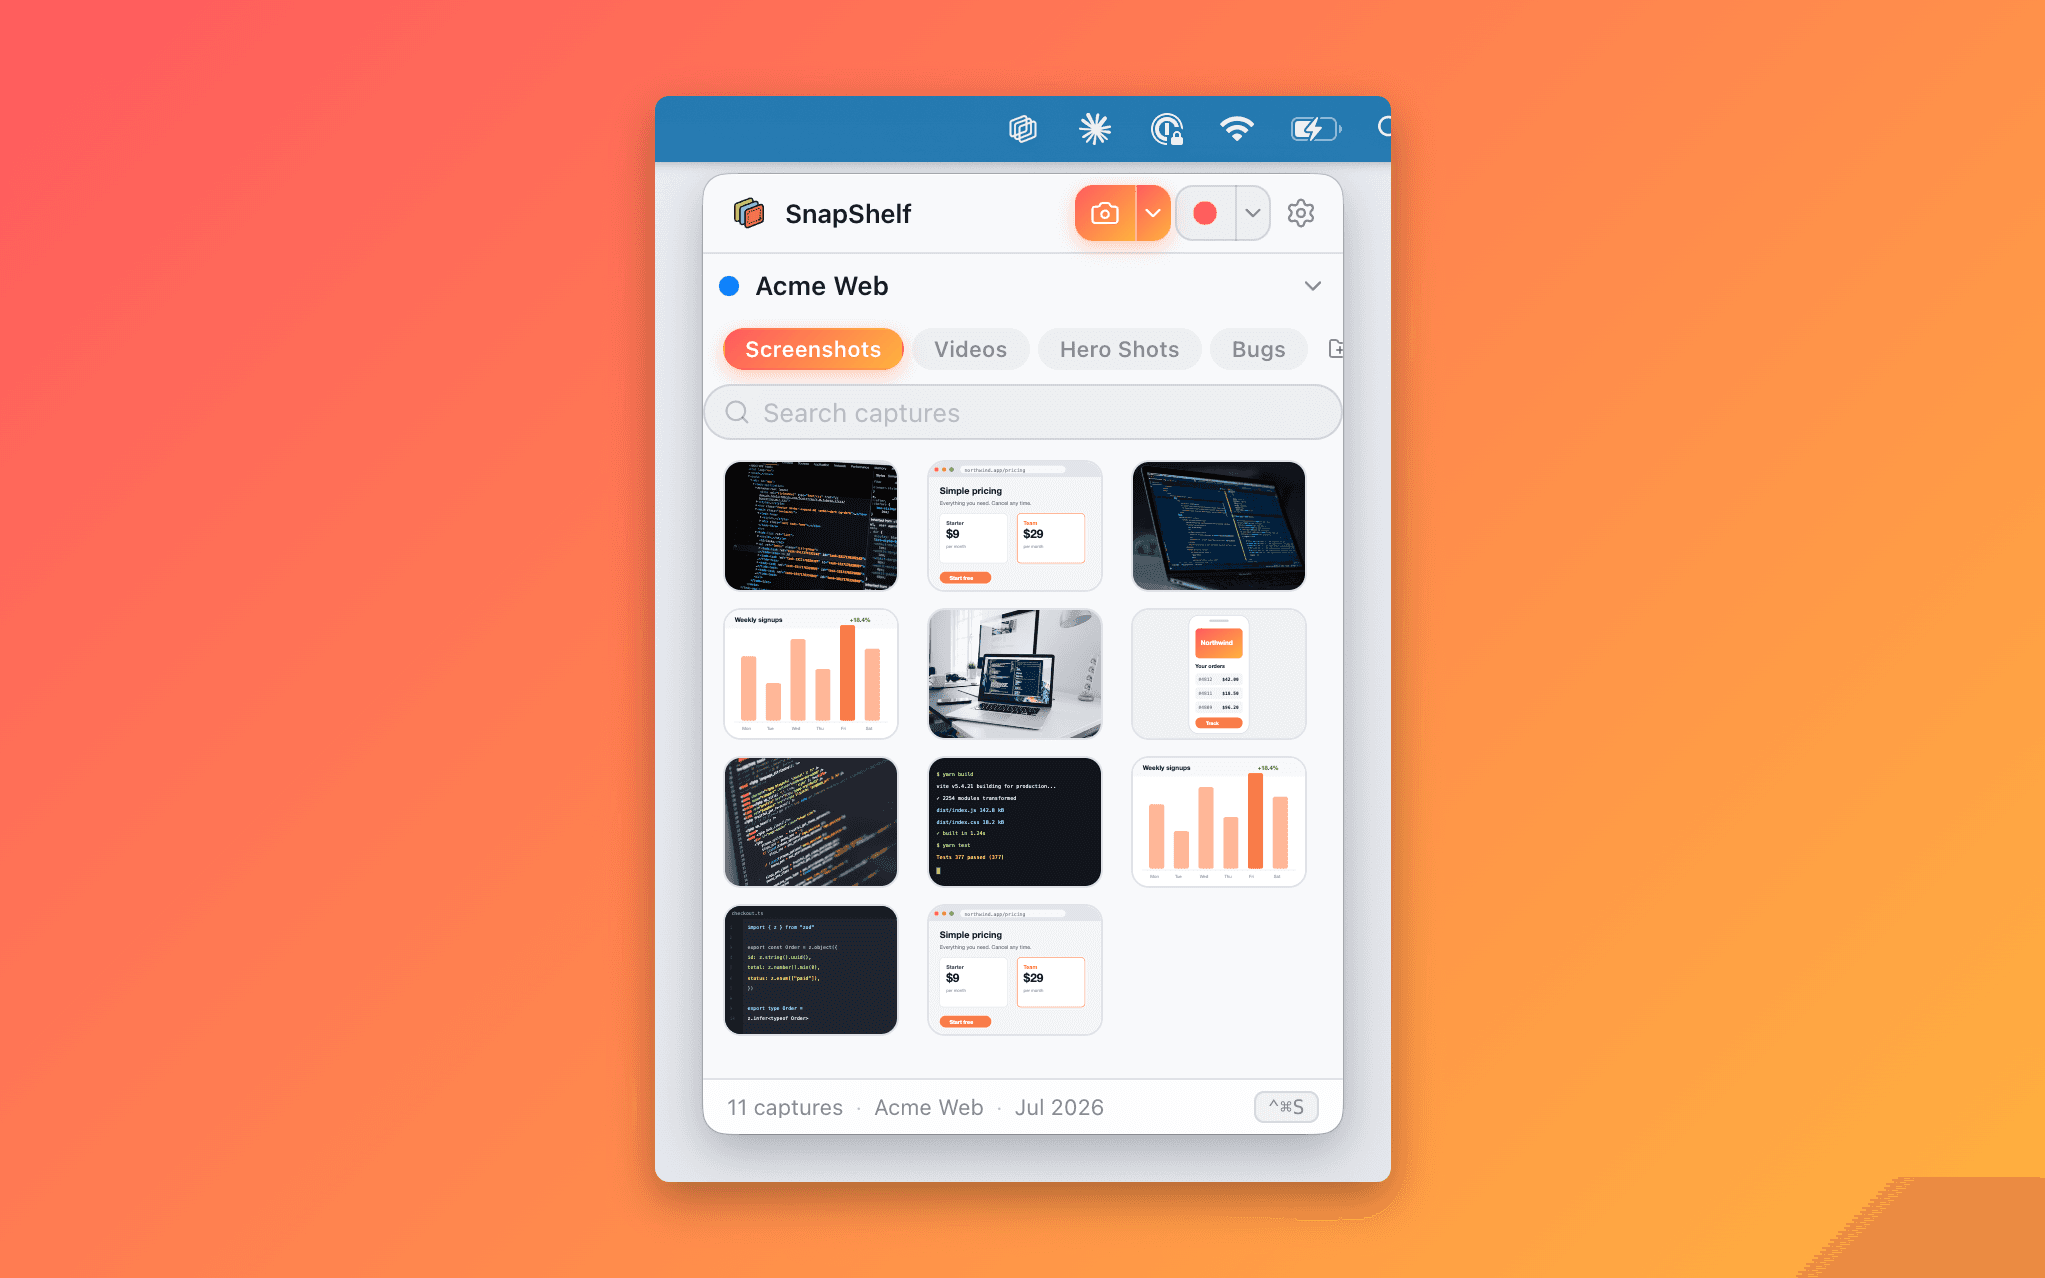
Project shelves in the SnapShelf sidebar, each holding captures routed there automatically by app and window title.
First, understand what each approach can actually see
Every tool in this guide sorts screenshots. They differ on one axis that decides everything else: what information they have available when they make the decision.
Finder and Hazel operate on the file, after it exists. They can see the filename, the extension, the creation date, the size, the folder it landed in, and any Finder tags. That is the complete list. They cannot see what was on your screen.
A capture app operates at the moment of capture. It knows which application was frontmost, what that window was titled, and what the image contains. That is strictly more context — and it is the context that actually corresponds to “which project is this”.
This matters because a screenshot of a Figma frame and a screenshot of a stack trace are, to Finder, two PNGs of similar size created eleven seconds apart. Nothing in the file distinguishes them. If you want them in different folders, something has to know something the file does not record.
Which is a long way of saying: pick the cheapest approach that has enough information for your rule. Sometimes that is a free Smart Folder.
Free: Finder Smart Folders
A Smart Folder is a saved search that lives in your Finder sidebar. It is not a folder — no file is ever moved — but it gives you a persistent, always-current view, and it costs nothing.
This works well when your projects live in distinct directory trees already. A Smart Folder scoped to ~/Projects/ClientA that matches images from the last 30 days gives you a working “recent screenshots for Client A” view without touching a single file.
Where it stops: the criteria are file attributes only. If all your screenshots land in one folder with timestamp filenames — which is exactly what the macOS default gives you — there is no attribute to filter on, and the Smart Folder can only show you all of them sorted by date. It formalises a view; it cannot create the distinction that was never recorded.
The workaround is Finder tags. Tag captures as you go with ⌃1 through ⌃7 and a Smart Folder can match on the tag. It works, and it is entirely free. It is also a manual step on every screenshot, which is the habit most people are trying to escape.
- 1In Finder, choose File → New Smart Folder (⌥⌘N).
- 2Click the + button at the top right to add a criterion.
- 3Set “Kind” to “Image” to catch PNG and JPEG captures.
- 4Click + again and add “Name” contains “Screenshot”, or “Last modified date” within the last 30 days.
- 5Use the This Mac / folder toggle in the toolbar to scope the search to a project directory if you have one.
- 6Click Save, name it after the project, and tick “Add To Sidebar”.
Paid and powerful: Hazel
Hazel is a long-standing macOS automation utility that watches folders and runs rules on the files that appear in them. It is a legitimately excellent tool and for a large class of filing problems it is the right answer.
Point Hazel at your screenshot destination and it can rename by pattern, move into dated subfolders, sort by size, colour-tag, run a shell script, and chain conditions together with far more nuance than a Smart Folder allows. If your organising rule is expressible in file attributes, Hazel will express it, and it will keep doing so forever without your involvement.
The honest ceiling is the same one Finder has, because Hazel is also downstream of the file. It fires when the PNG lands. By then the app that was frontmost is gone from the record. Hazel cannot write a rule that means “this came from Xcode” unless something upstream encoded that into the filename first.
There are ways to feed it that context — a Folder Action or a small AppleScript that renames captures with the frontmost app name before Hazel sees them. That works. It is also a scripting project you now own and maintain, which is a real cost worth naming honestly.
If your filing rule is date-based, size-based, or format-based, Hazel is straightforwardly the right tool and you do not need anything else.
Capture-time routing
The third approach moves the decision earlier: file the capture when you take it, using the context that only exists at that moment.
SnapShelf does this on macOS 13 Ventura and later. It reads the frontmost application and the window title as the capture happens, matches them against rules you define, and writes the file directly to the destination — already named, already in the right place. On-device OCR acts as a fallback when the window title is too generic to route on, so a capture of an untitled browser tab can still be sorted by what is written in it.
A rule is a condition and a destination: “app is Xcode → ~/Projects/MyApp/Screenshots”. The rule list ships empty, so nothing is routed until you write one — this does not start rearranging your captures the day you install it. Captures that match no rule land in your active project’s screenshots folder instead of vanishing, or in an automatically created project named “My Captures” if you do not have one yet, which matters a lot in the first week while you are still working out what your rules should be.
Because the routing happens before the file is written, there is no watch folder, no polling delay, and no window in which the capture exists somewhere temporary. It is also compatible with everything above — the files are ordinary PNGs in ordinary folders, so a Smart Folder or a Hazel rule on top still works exactly as you would expect.
Everything stays on your Mac: no upload, and no analytics on what you capture. SnapShelf is $49 once with 2 years of free updates and a 30-day money-back guarantee — no subscription.
- 1Open SnapShelf Settings → Rules.
- 2Add a rule with a condition — for example, app is Xcode.
- 3Set the destination folder, e.g. ~/Projects/MyApp/Screenshots.
- 4Add a second rule for your browser, scoped by window title, for client work.
- 5Take a test screenshot with the target app in the foreground.
- 6Check the destination folder — the capture is already there and named. Anything unmatched sits in your active project.
Which one to pick
If your projects already live in separate directory trees and you just want a view, use a Smart Folder. It is free, it ships with the Mac, and it will take you ten minutes.
If your rules are about dates, formats, sizes, or cleaning up a download folder, use Hazel. It is more capable than anything a capture app will give you for those specific jobs, and it works on every file on your system, not just screenshots.
If the thing you actually want is “screenshots from the app I am working in go to that project’s folder”, that rule cannot be expressed downstream without scripting your way to it. That is when capture-time routing earns its place.
A reasonable number of people should read this page, set up a Smart Folder, and never think about it again. That is a good outcome. The tool is for the case where the folder count and the context-switching rate make manual filing the bottleneck.
Try SnapShelf
$49 once — 2 years of free updates, no subscription, and everything stays on your Mac. 30-day money-back guarantee.
macOS 13+ · Apple Silicon & Intel
FAQ
Questions, answered
Everything you need to know before buying.
No. macOS supports exactly one global screenshot destination, set via ⌘⇧5 → Options or `defaults write com.apple.screencapture location`. There is no built-in rule engine for routing captures to different folders. How to change the default screenshot folder →
Stop hunting for screenshots. Start shipping.
Every capture filed, annotated, recorded with cursor auto-zoom, and one right-click away from your Claude Code session. One-time $49, yours forever.
30-day money-back guaranteeOne-time purchase2 years of free updatesLocal-only datamacOS 13+ · Apple Silicon & Intel