How to record your screen with system audio on macOS
macOS cannot capture system audio with the built-in ⌘⇧5 recorder, which offers microphone input only — so route audio through a virtual device like the free BlackHole, or use an app built on ScreenCaptureKit, available since macOS 13 Ventura.
Last updated
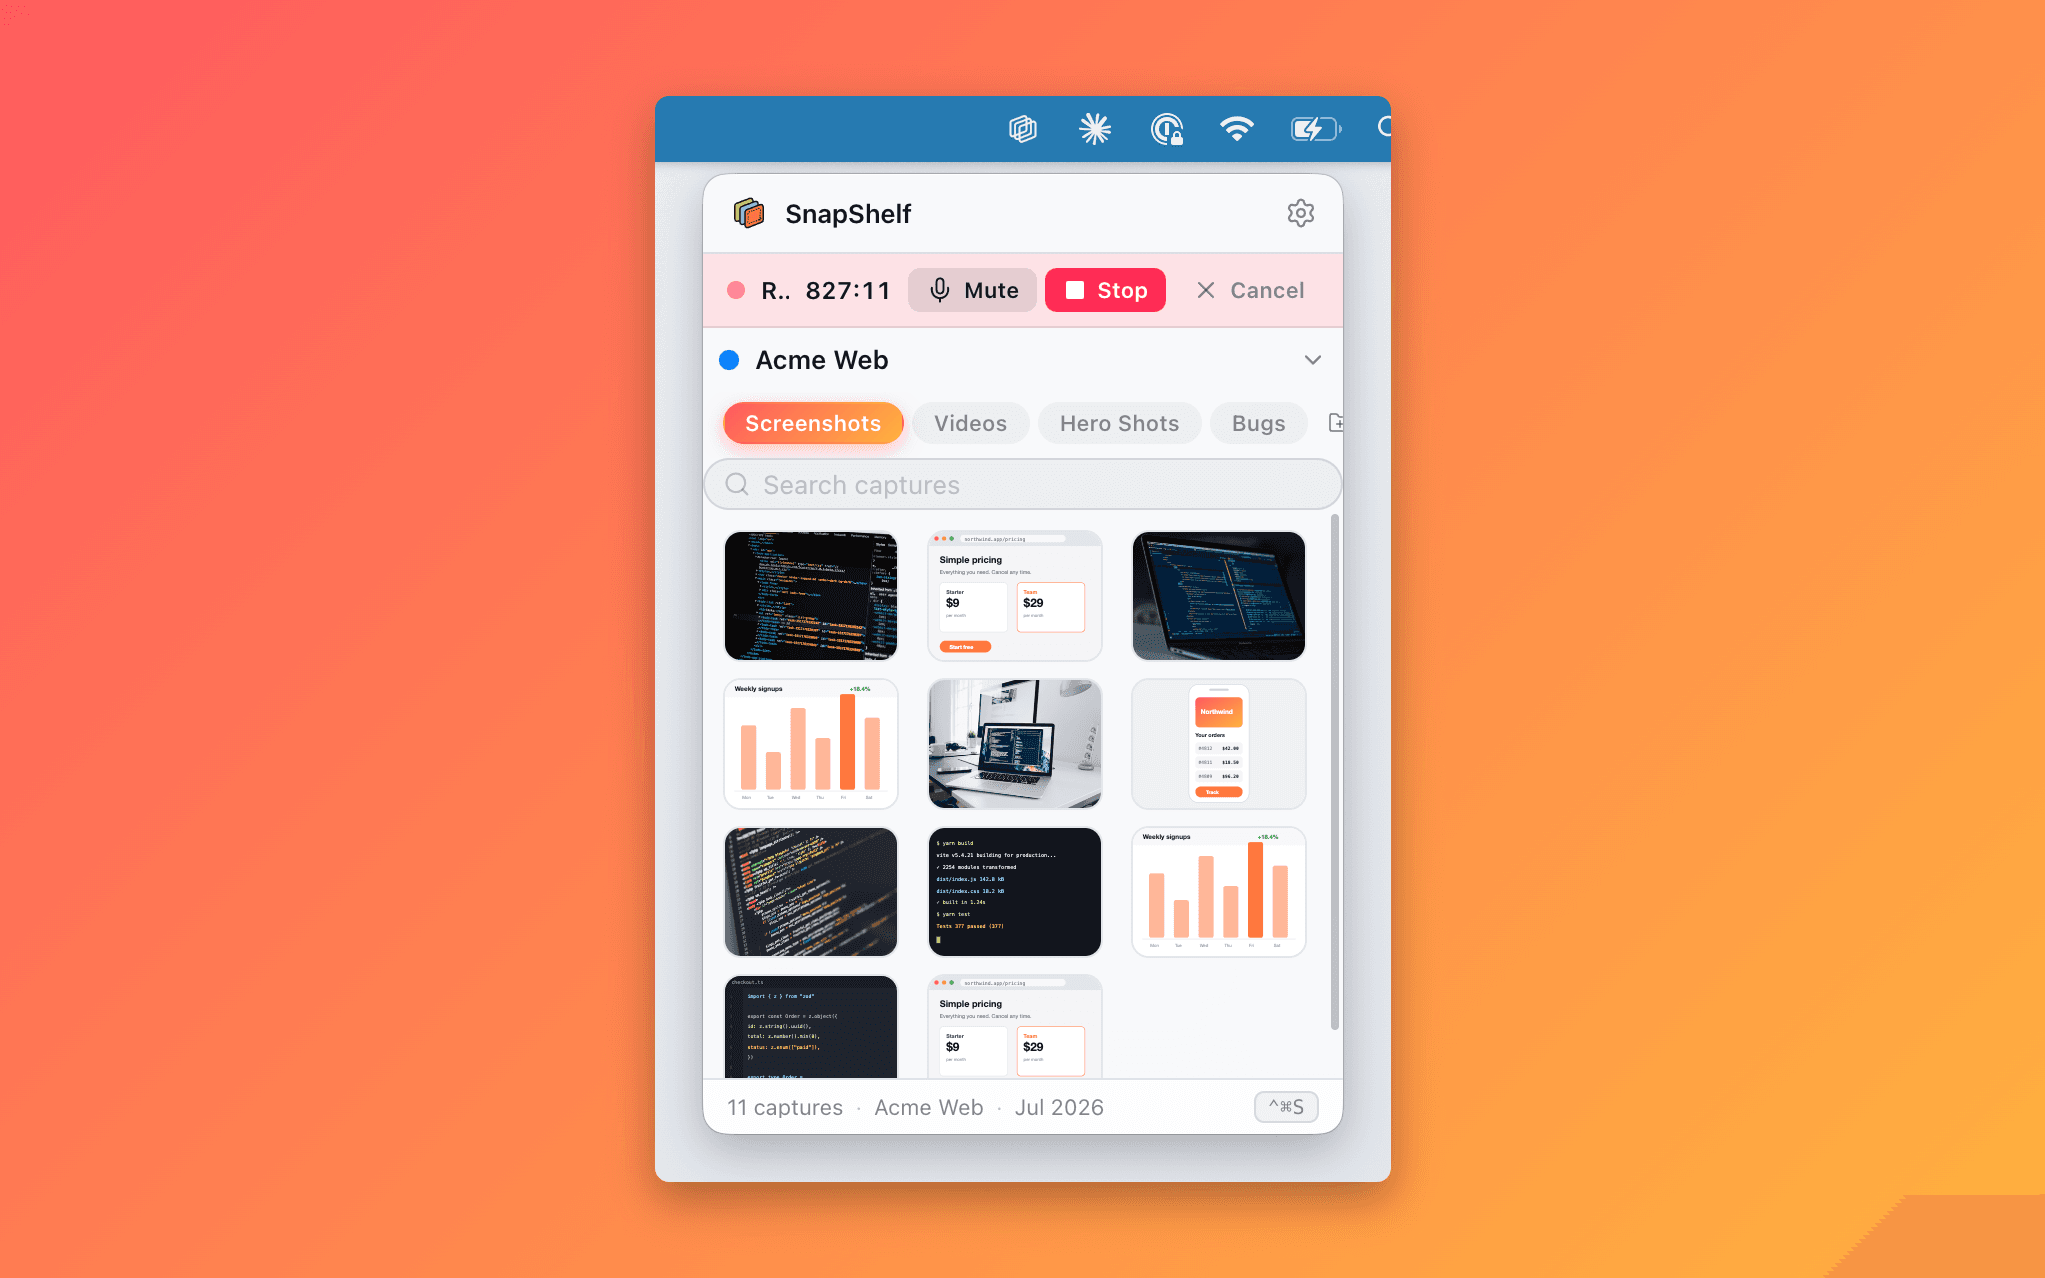
The SnapShelf record panel with independent microphone and system audio toggles above the record button.
Why your recording has no sound
Press ⌘⇧5, click Options, and look at the audio section. It lists your microphone and nothing else. There is no System Audio, no Internal Audio, no Computer Sound.
This is not an oversight or a missing checkbox. Historically macOS provided no supported path for one application to capture the audio output of another, and the built-in screenshot and recording tool reflects that. QuickTime Player has the same limitation for the same reason — its recording audio menu shows input devices only.
The result catches people out constantly. You record a walkthrough of a video call, a game, a tutorial with a soundtrack, or an app with audio feedback, and you get a perfect picture with either silence or the tinny sound of your laptop speakers bleeding into the microphone.
There are two real solutions. Route the audio through a virtual audio device so that it appears to macOS as an input, which is the classic approach and works everywhere. Or use an application built on ScreenCaptureKit, Apple’s modern capture framework, which can capture system audio directly.
The free route: BlackHole
BlackHole is a free, open-source virtual audio driver for macOS. It creates a device that is simultaneously an output and an input: anything sent to it as output becomes available to any app as an input. That is the trick that makes system audio recordable by tools that only accept microphones.
The complication is that if you simply set your system output to BlackHole, all your audio goes into the void and you hear nothing while recording. The fix is a Multi-Output Device, configured in Audio MIDI Setup, which sends the same audio to both BlackHole and your speakers at once. You hear it, and the recorder captures it.
Install the 2-channel version (brew install blackhole-2ch, or download it from Existential Audio) and follow the steps below.
Two things to watch. System volume control often stops working for a Multi-Output Device — you adjust levels in the source app instead. And you must remember to switch your output back afterwards, or you will spend twenty confused minutes wondering why your next video call has no sound. Nearly everyone does this at least once.
Loopback, by Rogue Amoeba, is the paid alternative. It does the same job with a proper graphical routing interface, per-application audio capture, and no Audio MIDI Setup archaeology. It is considerably more expensive than free, and considerably less fiddly. If you route audio regularly, it earns its price; if you need this once, BlackHole is fine.
- 1Install BlackHole 2ch: brew install blackhole-2ch, or download it from Existential Audio
- 2Open Audio MIDI Setup (in /Applications/Utilities)
- 3Click the + at the bottom left and choose Create Multi-Output Device
- 4Tick both your normal output (such as MacBook Pro Speakers) and BlackHole 2ch
- 5Set your built-in output as the primary device in the list so clock drift stays under control
- 6In System Settings → Sound, set Output to the new Multi-Output Device
- 7In QuickTime Player, choose File → New Screen Recording, and set the audio input to BlackHole 2ch
- 8Record — you will hear the audio through your speakers and it will be captured
- 9Afterwards, set your Sound output back to your normal speakers
What ScreenCaptureKit changed, and the version caveats
ScreenCaptureKit is Apple’s modern screen-capture framework, introduced at WWDC22. Critically for this problem, its stream configuration exposes a capturesAudio option that lets an app capture system audio directly — no virtual device, no Multi-Output Device, no routing.
That audio capture API has been available since macOS 13 Ventura, which is also SnapShelf’s minimum supported version. So on any Mac that can run a current capture app, a properly built recorder can capture system audio natively.
Two honest caveats. First, this is a capability available to applications, not a feature Apple added to the built-in ⌘⇧5 tool — as of this writing the Screenshot toolbar’s Options menu still exposes microphone input only, so the framework improving does not help you if you are using the shortcut. Second, the framework has continued to gain capabilities in later macOS releases, including finer-grained microphone and per-app audio handling, and I am not going to state a precise version for each of those, because getting it wrong would be worse than leaving it out. Check Apple’s ScreenCaptureKit documentation if you need the exact availability of a specific API.
The practical takeaway is simple. If an app tells you to install a virtual audio driver in 2026, it has not adopted ScreenCaptureKit’s audio capture. If it records system audio with no setup at all, it has.
Recording system audio in SnapShelf
SnapShelf records your screen with microphone and system audio as independent toggles. You can record silent, narrated, with system audio only, or with both — from the same menubar panel. Be clear about how the system side works, though: it is not ScreenCaptureKit audio. SnapShelf picks up system sound by matching an audio input device whose name looks like BlackHole, Loopback, Soundflower, or an aggregate or multi-output device, so a loopback device has to exist. With none installed it records the microphone only, and it does so quietly rather than complaining.
What it does do is turn that setup into a guided flow rather than an afternoon in Audio MIDI Setup. The app offers a one-click download of a pinned BlackHole installer — fetched on demand, not bundled — detects the driver the moment it appears, shows an RMS level meter so you can confirm audio is genuinely arriving before you record anything real, and walks you through building the Multi-Output Device. You do it once.
Independent toggles matter more than they sound. A bug report usually wants system audio and no microphone, so the reviewer hears the error sound but not your room. A tutorial usually wants both — the app’s audio underneath your narration. A silent demo destined for a GIF wants neither. Making that a per-recording choice rather than a system-wide audio configuration is the whole point.
It is $49 one-time, macOS 13 Ventura and later, universal binary for Apple Silicon and Intel. There is a launch offer of $29 for the first 100 licences with the code LAUNCH29, and a 30-day money-back guarantee. Recording, editing, and export all stay on your Mac — local-first, no upload of captured content, no telemetry on what you capture.
Screen recording requires the Screen Recording permission in System Settings → Privacy & Security, which macOS will prompt for on first capture. That applies to every screen recorder on macOS, built-in tooling included.
To be clear about the alternative: if you record system audio twice a year, BlackHole plus QuickTime is free and it works. The argument for a dedicated tool is not that it is the only way — it is that the Multi-Output Device dance is a genuinely annoying thing to redo, and forgetting to switch your output back is a genuinely annoying way to break your next meeting.
- 1Grant Screen Recording permission in System Settings → Privacy & Security when prompted
- 2If you have no loopback device yet, run SnapShelf’s guided BlackHole setup — it downloads the installer, detects the driver, and helps you build the Multi-Output Device
- 3Open the Record tab in the SnapShelf menubar panel
- 4Toggle system audio on — SnapShelf picks the loopback device up by name — and the microphone on or off depending on whether you are narrating
- 5Hit Record, work normally, then hit Stop
- 6Trim in the editor if needed, then export as MP4 — or as a GIF for short silent clips
Troubleshooting silent recordings
If the recording came out silent, work through these before assuming the tool is broken.
Check whether you actually enabled an audio source. In ⌘⇧5 the microphone selection resets more often than you would expect, and a recording started from the toolbar with no input selected produces a silent file with no warning.
Check the Screen Recording permission. On macOS this permission gates capture, and an app that lost it after an update can produce a black or silent recording rather than an obvious error. Toggle it off and on in System Settings → Privacy & Security, then relaunch the app.
If you are using BlackHole, confirm your system output is set to the Multi-Output Device and not to BlackHole alone. Output set to BlackHole alone means you hear nothing during the recording, which is the usual first symptom.
Check for DRM. Protected content from streaming services is frequently blocked from capture at the system level, and it typically produces a black frame or silent audio rather than an explanation. That is intended behaviour and no tool will work around it.
And check the obvious one last: the source app’s own volume, and per-app volume settings, which can be muted independently of your system volume.
Try SnapShelf
$49 once — 2 years of free updates, no subscription, and everything stays on your Mac. 30-day money-back guarantee.
macOS 13+ · Apple Silicon & Intel
FAQ
Questions, answered
Everything you need to know before buying.
Not on its own. QuickTime’s screen recording audio menu lists input devices only, so it captures the microphone but not the audio your Mac is playing. Installing a virtual audio device such as BlackHole and selecting it as the input is the standard workaround.
Stop hunting for screenshots. Start shipping.
Every capture filed, annotated, recorded with cursor auto-zoom, and one right-click away from your Claude Code session. One-time $49, yours forever.
30-day money-back guaranteeOne-time purchase2 years of free updatesLocal-only datamacOS 13+ · Apple Silicon & Intel