How to take a scrolling screenshot on a Mac
macOS has no built-in scrolling screenshot, but Chrome, Firefox, and Safari can each capture a full-length page for free from developer tools — a capture app is only needed for non-browser windows.
Last updated
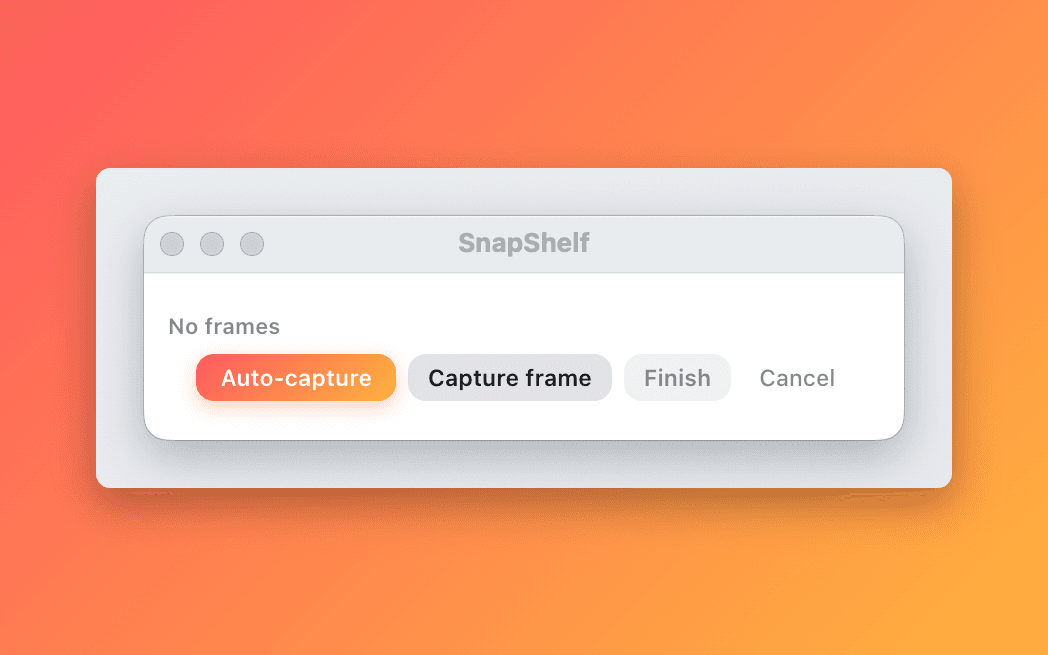
A long documentation page stitched into a single tall capture, shown next to the scrolling-capture controls.
The honest starting point: macOS cannot do this
There is no scrolling screenshot in macOS. ⌘⇧3, ⌘⇧4, and ⌘⇧5 capture what is visible on screen and nothing beyond it. There is no modifier key, no hidden `defaults` command, and no Options entry that extends a capture past the edge of the display. If you have been searching for the shortcut, it does not exist.
This surprises people because iOS has had it since iOS 13 — take a screenshot in Safari, tap the preview, and there is a Full Page tab. That feature never came to the Mac.
The good news is that the most common case by far — capturing a long web page — has a free answer that ships with every major browser. That is worth exhausting before you look at anything paid.
Chrome and Edge: the devtools command
Chromium-based browsers have a full-page screenshot built into developer tools, reachable through the command palette. It renders the entire document, including everything below the fold, at full resolution.
The one thing to know is that lazy-loaded images and infinite-scroll content only appear if they have already loaded. Scroll to the bottom of the page first, let everything render, then scroll back to the top and run the command. Otherwise you will get a tall image with grey placeholder boxes where the images should be.
Position-fixed headers are the other common artefact — a sticky nav bar sometimes renders once at the top rather than repeating, which is usually what you want, but check the output.
- 1Open the page and scroll to the bottom so all lazy-loaded content renders, then scroll back to the top.
- 2Open developer tools with ⌥⌘I.
- 3Open the command palette with ⌘⇧P.
- 4Type “screenshot”.
- 5Choose “Capture full size screenshot”.
- 6The PNG downloads automatically to your Downloads folder.
Firefox and Safari
Firefox has the friendliest version of this — it is a context-menu item, no developer tools required. Right-click anywhere on the page, choose Take Screenshot, and pick “Save full page”. You get a preview before you commit, and options to copy to clipboard or download.
Safari needs the Develop menu enabled first, which is a one-time step in Settings → Advanced. After that, open the Web Inspector, find the `<html>` element at the top of the Elements tab, right-click it, and choose Capture Screenshot. Because you are capturing a specific DOM node, you can also select any other element and capture just that — which is genuinely handy for grabbing a single clean component out of a busy page.
All three browser routes are free, produce a real full-resolution PNG, and are the correct answer for web content. If your scrolling capture need is entirely web pages, you can stop here.
- 1Firefox: right-click the page, choose Take Screenshot, then Save full page, then Download.
- 2Safari: open Settings → Advanced and tick “Show features for web developers”.
- 3Open the page and press ⌥⌘I for the Web Inspector.
- 4In the Elements tab, right-click the top-level <html> node.
- 5Choose Capture Screenshot and save the PNG.
The gap: everything that is not a browser
The devtools trick works because a web page has a document object model with a known full height. Nothing else on your Mac does.
So it does not help with a long Slack thread, a Messages conversation, an Xcode file, a Terminal scrollback buffer, the Notion or Linear desktop apps, a long PDF in Preview, or a settings pane that scrolls. For those, the browser route simply does not apply and macOS offers nothing.
The manual workaround is to take several overlapping screenshots and stitch them in Preview or an image editor. It works. It is also fiddly to get the overlaps aligned, and the seams show if the scroll positions were not exact.
This is the specific job a scrolling capture feature does: record frames as you scroll, detect the overlap between them, and stitch them into one tall image automatically.
Scrolling capture in SnapShelf
SnapShelf includes scrolling capture on macOS 13 Ventura and later. Activate it from the menubar panel or with ⌃⌘L, then either scroll and click Capture frame at each step yourself, or let auto-scroll send the scroll events for you — that mode needs the Accessibility permission and drops back to manual if you decline. Either way it stitches the frames into a single tall image, matching row signatures where they overlap, so no manual alignment and no seams to fix.
It works on web pages, documentation, long Notion pages, code files, and most macOS apps that use standard scrollable views. That “most” is doing real work in the sentence: apps with custom-drawn or heavily virtualised scroll views can produce imperfect results, and that is true of every scrolling-capture implementation, not just this one.
Three limits worth knowing before you rely on it. Auto-scroll stops at 40 frames, which caps how tall a single capture can get. The capture also ends as soon as two consecutive frames look identical, so lazy-loaded content that has not painted yet reads as “we have reached the bottom” and the run finishes early — scroll the page once to load everything, then go back to the top and capture. And there is no sticky-header handling at all: a fixed nav bar is stitched back in at every join, so hide it first if the page has one.
The stitched image is a normal capture afterwards, so everything downstream applies: it is auto-filed by the same rules, it is annotatable with the full twelve-tool set — select, rectangle, ellipse, arrow, line, pen, text, highlighter, blur, step badge, button, and crop — on-device OCR can pull the text out of it, and it can be sent straight to a running Claude Code session with a right-click.
Worth knowing what else does this before you buy: Shottr does scrolling capture and is free for core screenshot use — if that is your only requirement, it is the cheaper answer and we would rather you knew. Snagit also handles it, though it is a subscription at around $39/yr since 2025. CleanShot X covers it too, at $29 one-time plus $19/yr for continued updates. SnapShelf is $49 once with 2 years of free updates and makes sense when scrolling capture is one item on a longer list that includes recording, video editing, and auto-filing. Prices verified July 2026 and subject to change.
- 1Open the SnapShelf menubar panel and choose Scrolling Capture.
- 2Select the window or region you want to capture.
- 3Scroll down at a natural, steady pace to the end of the content.
- 4Stop — SnapShelf stitches the frames into one tall image.
- 5The result is auto-filed and copied to your clipboard, ready to annotate, OCR, or send to Claude Code.
Try SnapShelf
$49 once — 2 years of free updates, no subscription, and everything stays on your Mac. 30-day money-back guarantee.
macOS 13+ · Apple Silicon & Intel
FAQ
Questions, answered
Everything you need to know before buying.
No. ⌘⇧3, ⌘⇧4, and ⌘⇧5 capture only what is currently visible on screen. There is no modifier, shortcut, or defaults command that extends a capture past the edge of the display. iOS has a Full Page option in Safari; macOS never received it.
Stop hunting for screenshots. Start shipping.
Every capture filed, annotated, recorded with cursor auto-zoom, and one right-click away from your Claude Code session. One-time $49, yours forever.
30-day money-back guaranteeOne-time purchase2 years of free updatesLocal-only datamacOS 13+ · Apple Silicon & Intel