How to redact sensitive information in a screenshot
Blur and pixelation can sometimes be reversed, so for tokens, API keys, and personal data, cover the region with a solid opaque box and export a flattened raster image — never rely on a blur for genuinely sensitive data.
Last updated
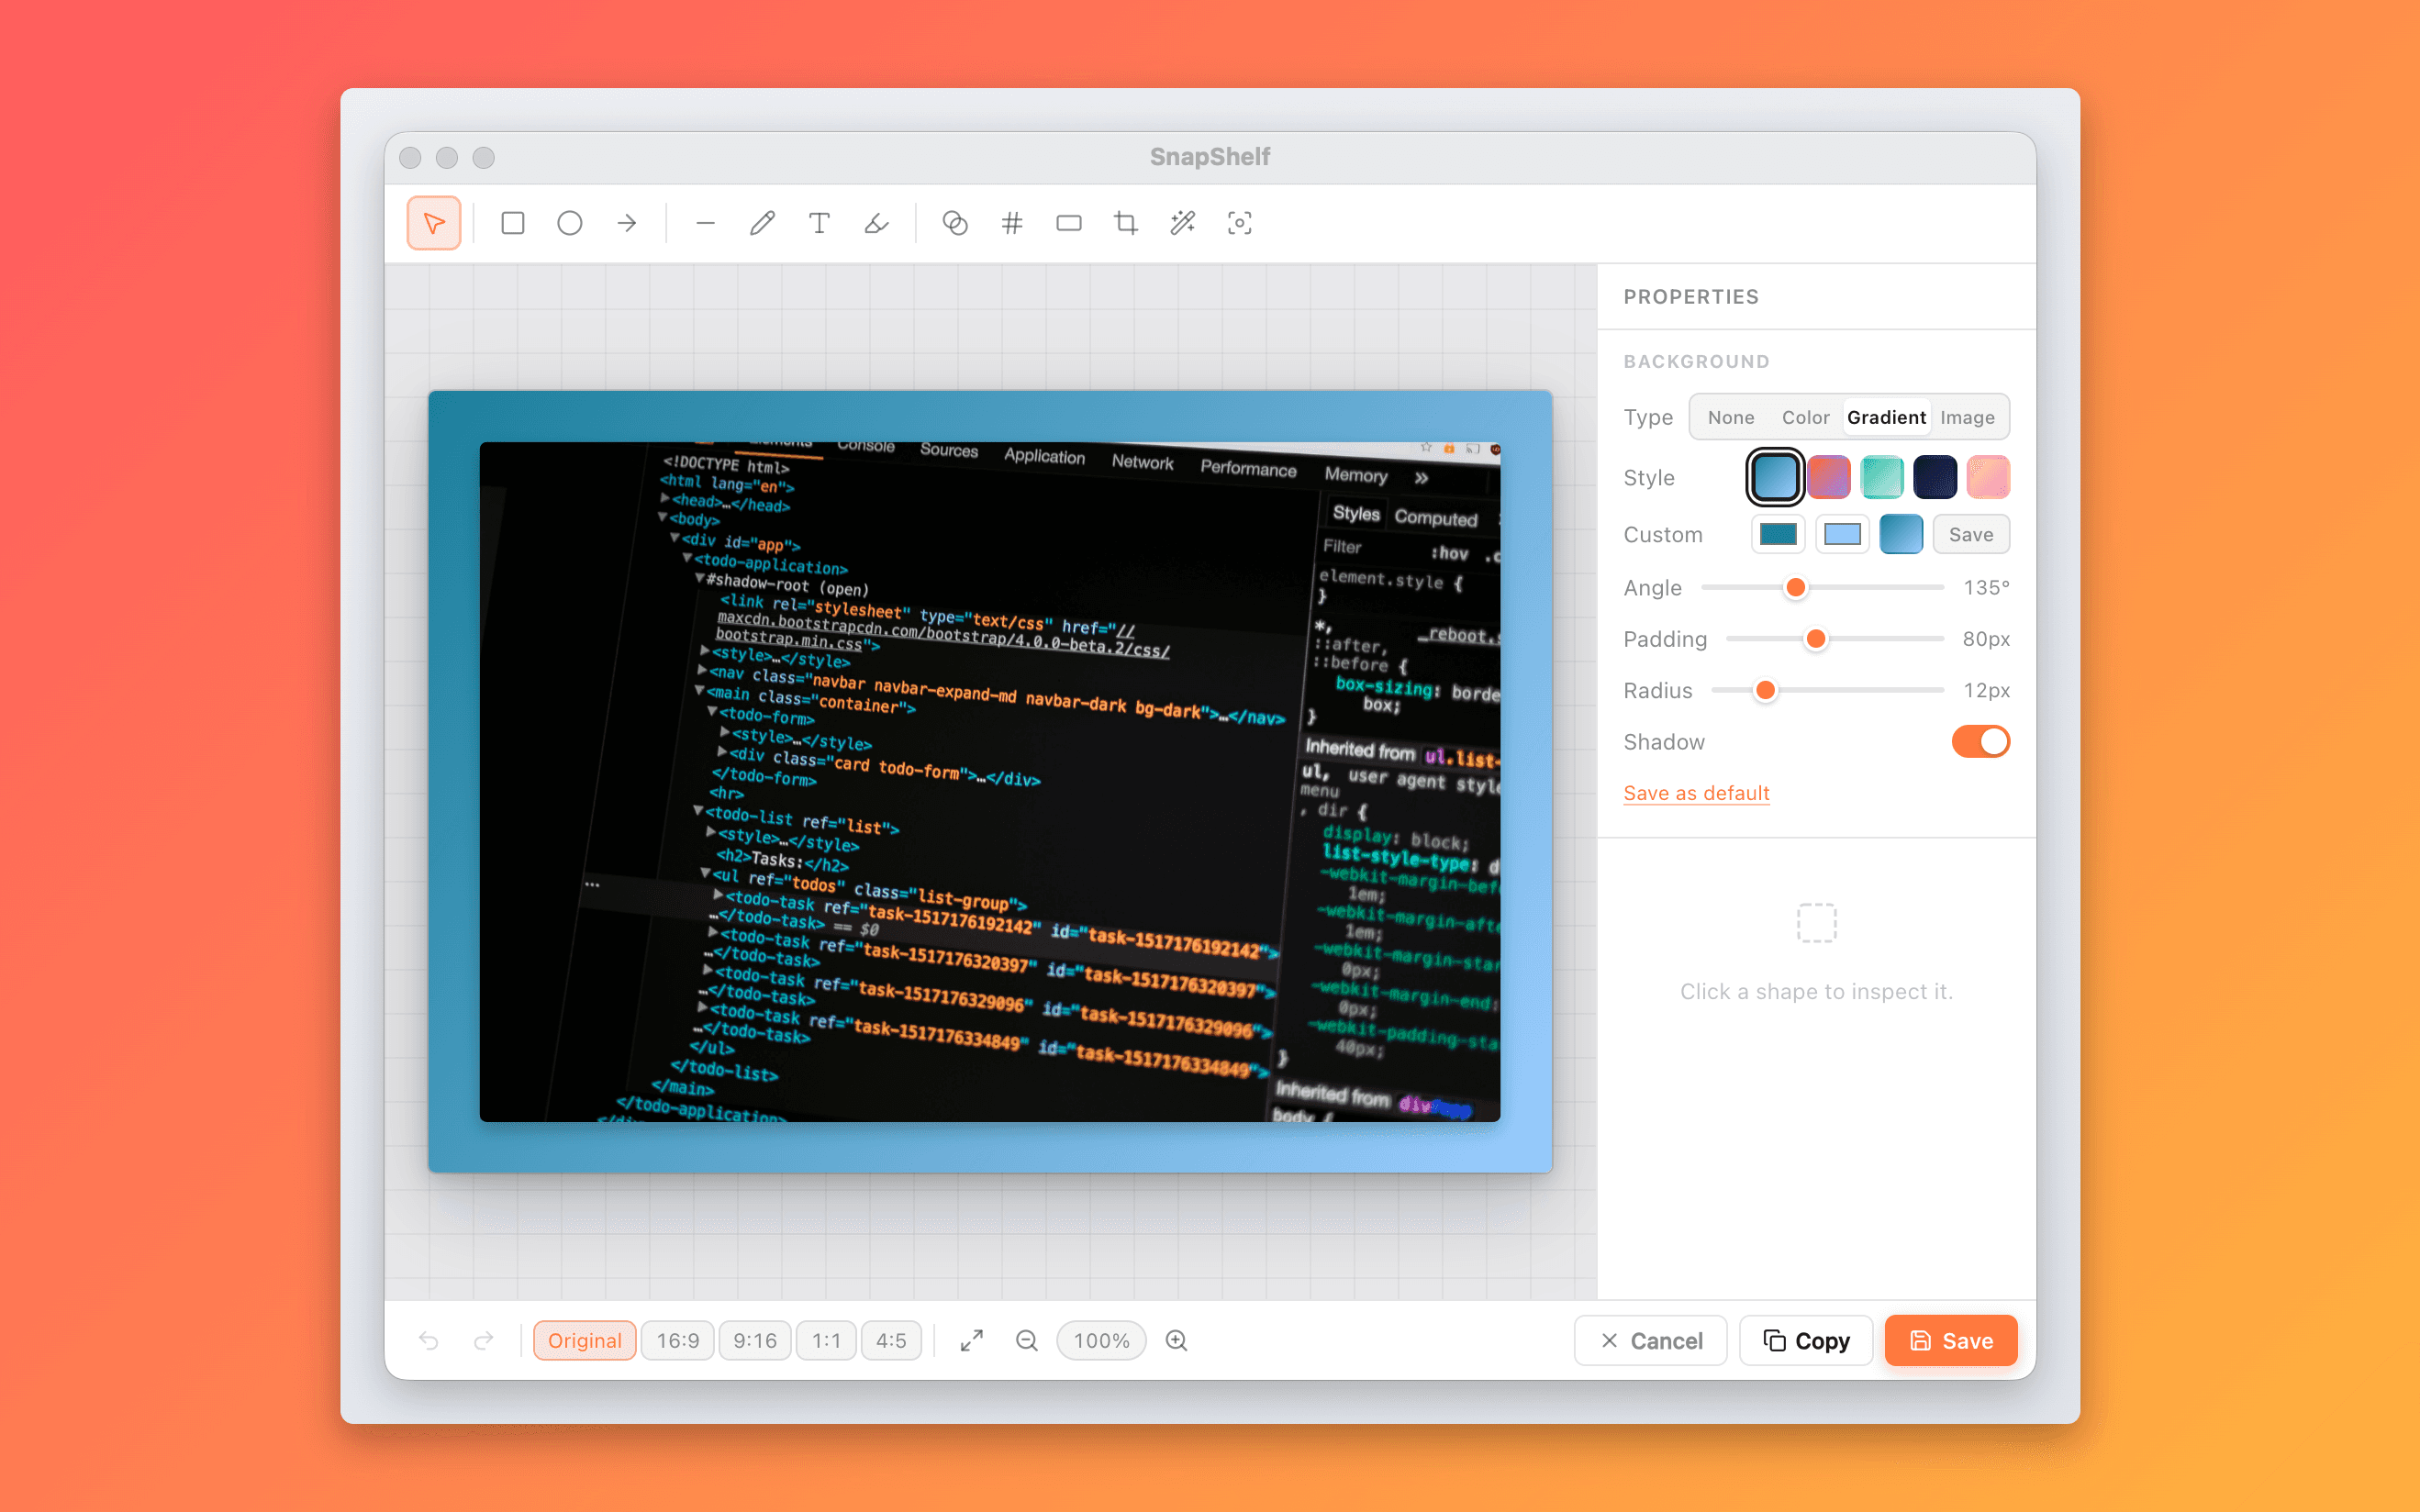
The SnapShelf annotation editor with a solid opaque rectangle covering an API key in a terminal window.
Read this first: blur is not redaction
Blurring and pixelating are lossy visual filters, not deletion. The pixels underneath are transformed, not removed, and a transform that is reversible in principle is sometimes reversible in practice. If the thing you are covering would cause real harm if it were recovered, do not blur it.
Pixelation is the weaker of the two, and it is weakest exactly where people use it most: on text. A mosaic filter averages each block of pixels down to one colour. When the underlying content is text in a known font at a known size, the space of possible originals is small enough to search. Given the block grid and the font, you can render every candidate string, apply the same mosaic, and compare. Public tooling to do this to pixelated text has existed for years — Depix is the best-known example — and it works well on short strings like tokens, account numbers, and names.
Gaussian blur is stronger but not categorically safe. A light blur radius over high-contrast text leaves enough structure to attack, and the same render-and-compare approach applies. There is also a well-known real-world precedent for reversible obfuscation: a swirl filter applied to photographs was unwound by simply applying the inverse swirl, and it led to an arrest. The lesson generalises — a filter that preserves information is not a redaction.
The safe control is trivial and free: draw a solid, fully opaque rectangle over the region, in a colour with no transparency, and export a flattened raster image. There is no information left under an opaque box. This costs you nothing in effort and it is the difference between "looks hidden" and "is gone".
Use blur where the stakes are aesthetic, not secret — softening a colleague’s face in a demo, de-emphasising an unrelated part of the UI, making a background less distracting. Use an opaque box for credentials, tokens, keys, session IDs, email addresses, names, account numbers, internal hostnames, and customer data.
The second trap: redaction that never got flattened
Covering the pixels is only half of it. The other half is making sure the covering is baked into the file you actually send, and this is where careful people still get caught.
The classic failure is a PDF. If you draw a black rectangle over text in a PDF annotation tool, you have added a black rectangle to a page that still contains the original text as a selectable, copyable, searchable object. Anyone can select underneath it, or run a text extraction and read every redacted word. This has leaked court filings, contracts, and government documents repeatedly. A PDF redaction is only real if the tool removes the underlying content, not if it draws over it.
The same applies to any layered format. A .psd, a .sketch, an annotation format that keeps your shapes as editable objects — all of them keep the original image underneath your box. Export to PNG or JPEG, which have no layers by construction, and verify you are sending the export rather than the source.
Check the metadata too. An exported image can carry EXIF fields, and a screenshot pipeline can retain a filename or path that itself leaks — a file called invoice-acme-corp-overdue.png tells the reader something you may not have meant to tell them.
Then do the last check, which almost nobody does: open the file you are about to send, at full size, and read it. Not the source, not the editor canvas — the actual exported artefact. Most redaction failures are not clever attacks. They are a second token further down the same terminal window that nobody covered.
Redacting a screenshot on macOS with the built-in tools
You can do a correct, safe redaction with what is already on your Mac. Preview’s Markup toolbar includes a rectangle shape, and if you set its fill to a solid colour with no transparency it is a genuine opaque box.
The steps below are the safe version. The critical detail is step four: the fill must be a solid colour, not a stroke-only outline and not a translucent highlight.
Preview has no blur tool, which in this context is a feature rather than a limitation — it steers you toward the shape that actually works. What Preview does lack is speed. Every redaction is open the file, find the toolbar, draw, set the fill, flatten, save, locate the output. Doing that on one screenshot is fine; doing it on the eight screenshots in a bug report is where people start getting sloppy, and sloppy is how the second token gets missed.
- 1Take the screenshot with ⌘⇧4, or ⌘⇧4 then Space to capture a single window
- 2Open the PNG in Preview and show the Markup toolbar (⇧⌘A)
- 3Choose the Shapes tool and pick the plain rectangle
- 4Set Fill to a solid colour and confirm the opacity is 100% — not a translucent highlight, not outline-only
- 5Drag the rectangle over every sensitive region, including anything in window titles, tab bars, and terminal scrollback
- 6Choose File → Export, pick PNG, and save a new flattened file
- 7Open the exported file at full size and read it before you send it
Doing it faster in SnapShelf
SnapShelf is a macOS menubar capture app, $49 one-time, macOS 13 Ventura and later. Its annotation editor gives you twelve tools — select, rectangle, ellipse, arrow, line, pen, text, highlighter, blur, step badges, button, and crop — and any capture opens straight into it from the shelf.
The same rule applies here as everywhere else on this page: use a filled shape for credentials and personal data, and reserve the blur tool for cases where you are de-emphasising rather than concealing. What SnapShelf gets right is the file it produces. The blur is a pixelation filter, and the export is a flattened PNG — there is no annotation project file and no editable layer left underneath, so nobody is peeling your redaction off the image the way they can off a PDF or a .psd. What flattening cannot fix is the maths of pixelated text, which is still attackable by rendering candidates and comparing. The tool being convenient does not change that.
Worth knowing before you draw anything: there is no dedicated redaction tool, so an opaque box is something you assemble. Draw a rectangle, then turn Fill on in the Inspector and set it to a solid colour. Shapes are drawn unfilled by default, and an unfilled rectangle is an outline neatly framing the thing you were trying to hide — which is worse than not redacting at all, because it looks done.
And the caveat that catches people: SnapShelf writes the redacted image as a new file, named after the original with -annotated appended, and it never deletes or overwrites the original. The un-redacted capture stays in the project folder and stays visible in your gallery, so it can be synced, dragged out, or picked by mistake — by you, or by anyone with access to that folder. Redacting is not finished when the box is drawn. It is finished when you have deleted or moved the original.
What genuinely reduces risk is the friction, not the filter. Redaction gets skipped when it is a chore, and it becomes a chore when it means finding the file, opening another app, and exporting a second copy. Clicking a thumbnail in the menubar panel, drawing a box, and having the result on your clipboard removes the excuse for not doing it.
Two habits help more than any tool. Crop before you redact — if the sensitive region is outside the part of the screen you actually need to show, cropping removes it entirely rather than covering it. And capture a region or a single window rather than the full screen, so the credential in the other terminal tab never enters the file in the first place.
One thing worth saying plainly: SnapShelf is local-first. Captures, recordings, and exports stay on your Mac, there is no upload, and there is no telemetry on captured content. For screenshots of client work or an unreleased feature, an editing step that never leaves the machine is meaningfully different from one that does.
- 1Capture the region or window you need — capture less rather than more
- 2Click the thumbnail in the SnapShelf panel to open the editor
- 3Crop away anything sensitive that does not need to be in frame at all
- 4Draw a rectangle, then switch Fill on in the Inspector and set it to a solid opaque colour — shapes are unfilled by default, and there is no dedicated redaction tool
- 5Cover every remaining sensitive region the same way
- 6Copy or export the flattened result
- 7Delete or move the original capture — the redaction is saved as a separate -annotated.png, and the un-redacted file stays in the folder and the gallery
- 8Open the exported file and read it once before sending
If a real credential was already exposed, rotate it
This is the part that gets skipped, and it is the only step that is actually decisive.
If a live API key, access token, session cookie, or password was visible in a screenshot that you sent, posted, or pasted anywhere — including a private Slack channel, a ticket, or a screen share — treat it as compromised and rotate it. Do not reason about whether the blur was strong enough. Rotation takes a couple of minutes and it makes the question irrelevant.
The same applies if the screenshot went into an issue tracker. Tracker attachments are often served from URLs that stay live after the comment is edited or deleted, and edit history frequently retains the original file. Deleting the comment is not the same as deleting the file.
Prevention beats redaction. Use a throwaway or development credential when you are taking screenshots for documentation. Keep a demo account with fake customer data for anything you expect to publish. Set your terminal prompt to avoid printing secrets, and clear scrollback before recording. None of that requires a tool.
And when you are recording video rather than capturing a still, remember that redaction is much harder — a box has to track a region across frames, and a single frame where it slips is a full disclosure. For video, control what is on screen before you press record rather than trying to fix it afterwards.
Try SnapShelf
$49 once — 2 years of free updates, no subscription, and everything stays on your Mac. 30-day money-back guarantee.
macOS 13+ · Apple Silicon & Intel
FAQ
Questions, answered
Everything you need to know before buying.
Sometimes, and pixelated text especially so. Mosaic filters reduce each block to an average colour, and when the content is text in a known font the set of possible originals is small enough to search by rendering candidates and comparing. Public tooling for this exists. For anything genuinely sensitive, use a solid opaque box instead.
Stop hunting for screenshots. Start shipping.
Every capture filed, annotated, recorded with cursor auto-zoom, and one right-click away from your Claude Code session. One-time $49, yours forever.
30-day money-back guaranteeOne-time purchase2 years of free updatesLocal-only datamacOS 13+ · Apple Silicon & Intel