Mark up a screenshot without opening a second app
SnapShelf includes an annotation editor for macOS 13+ with twelve tools — select, rectangle, ellipse, arrow, line, pen, text, highlighter, blur, step badge, button, and crop — and copies the marked-up result straight to your clipboard, included in the $49 one-time price.
Last updated
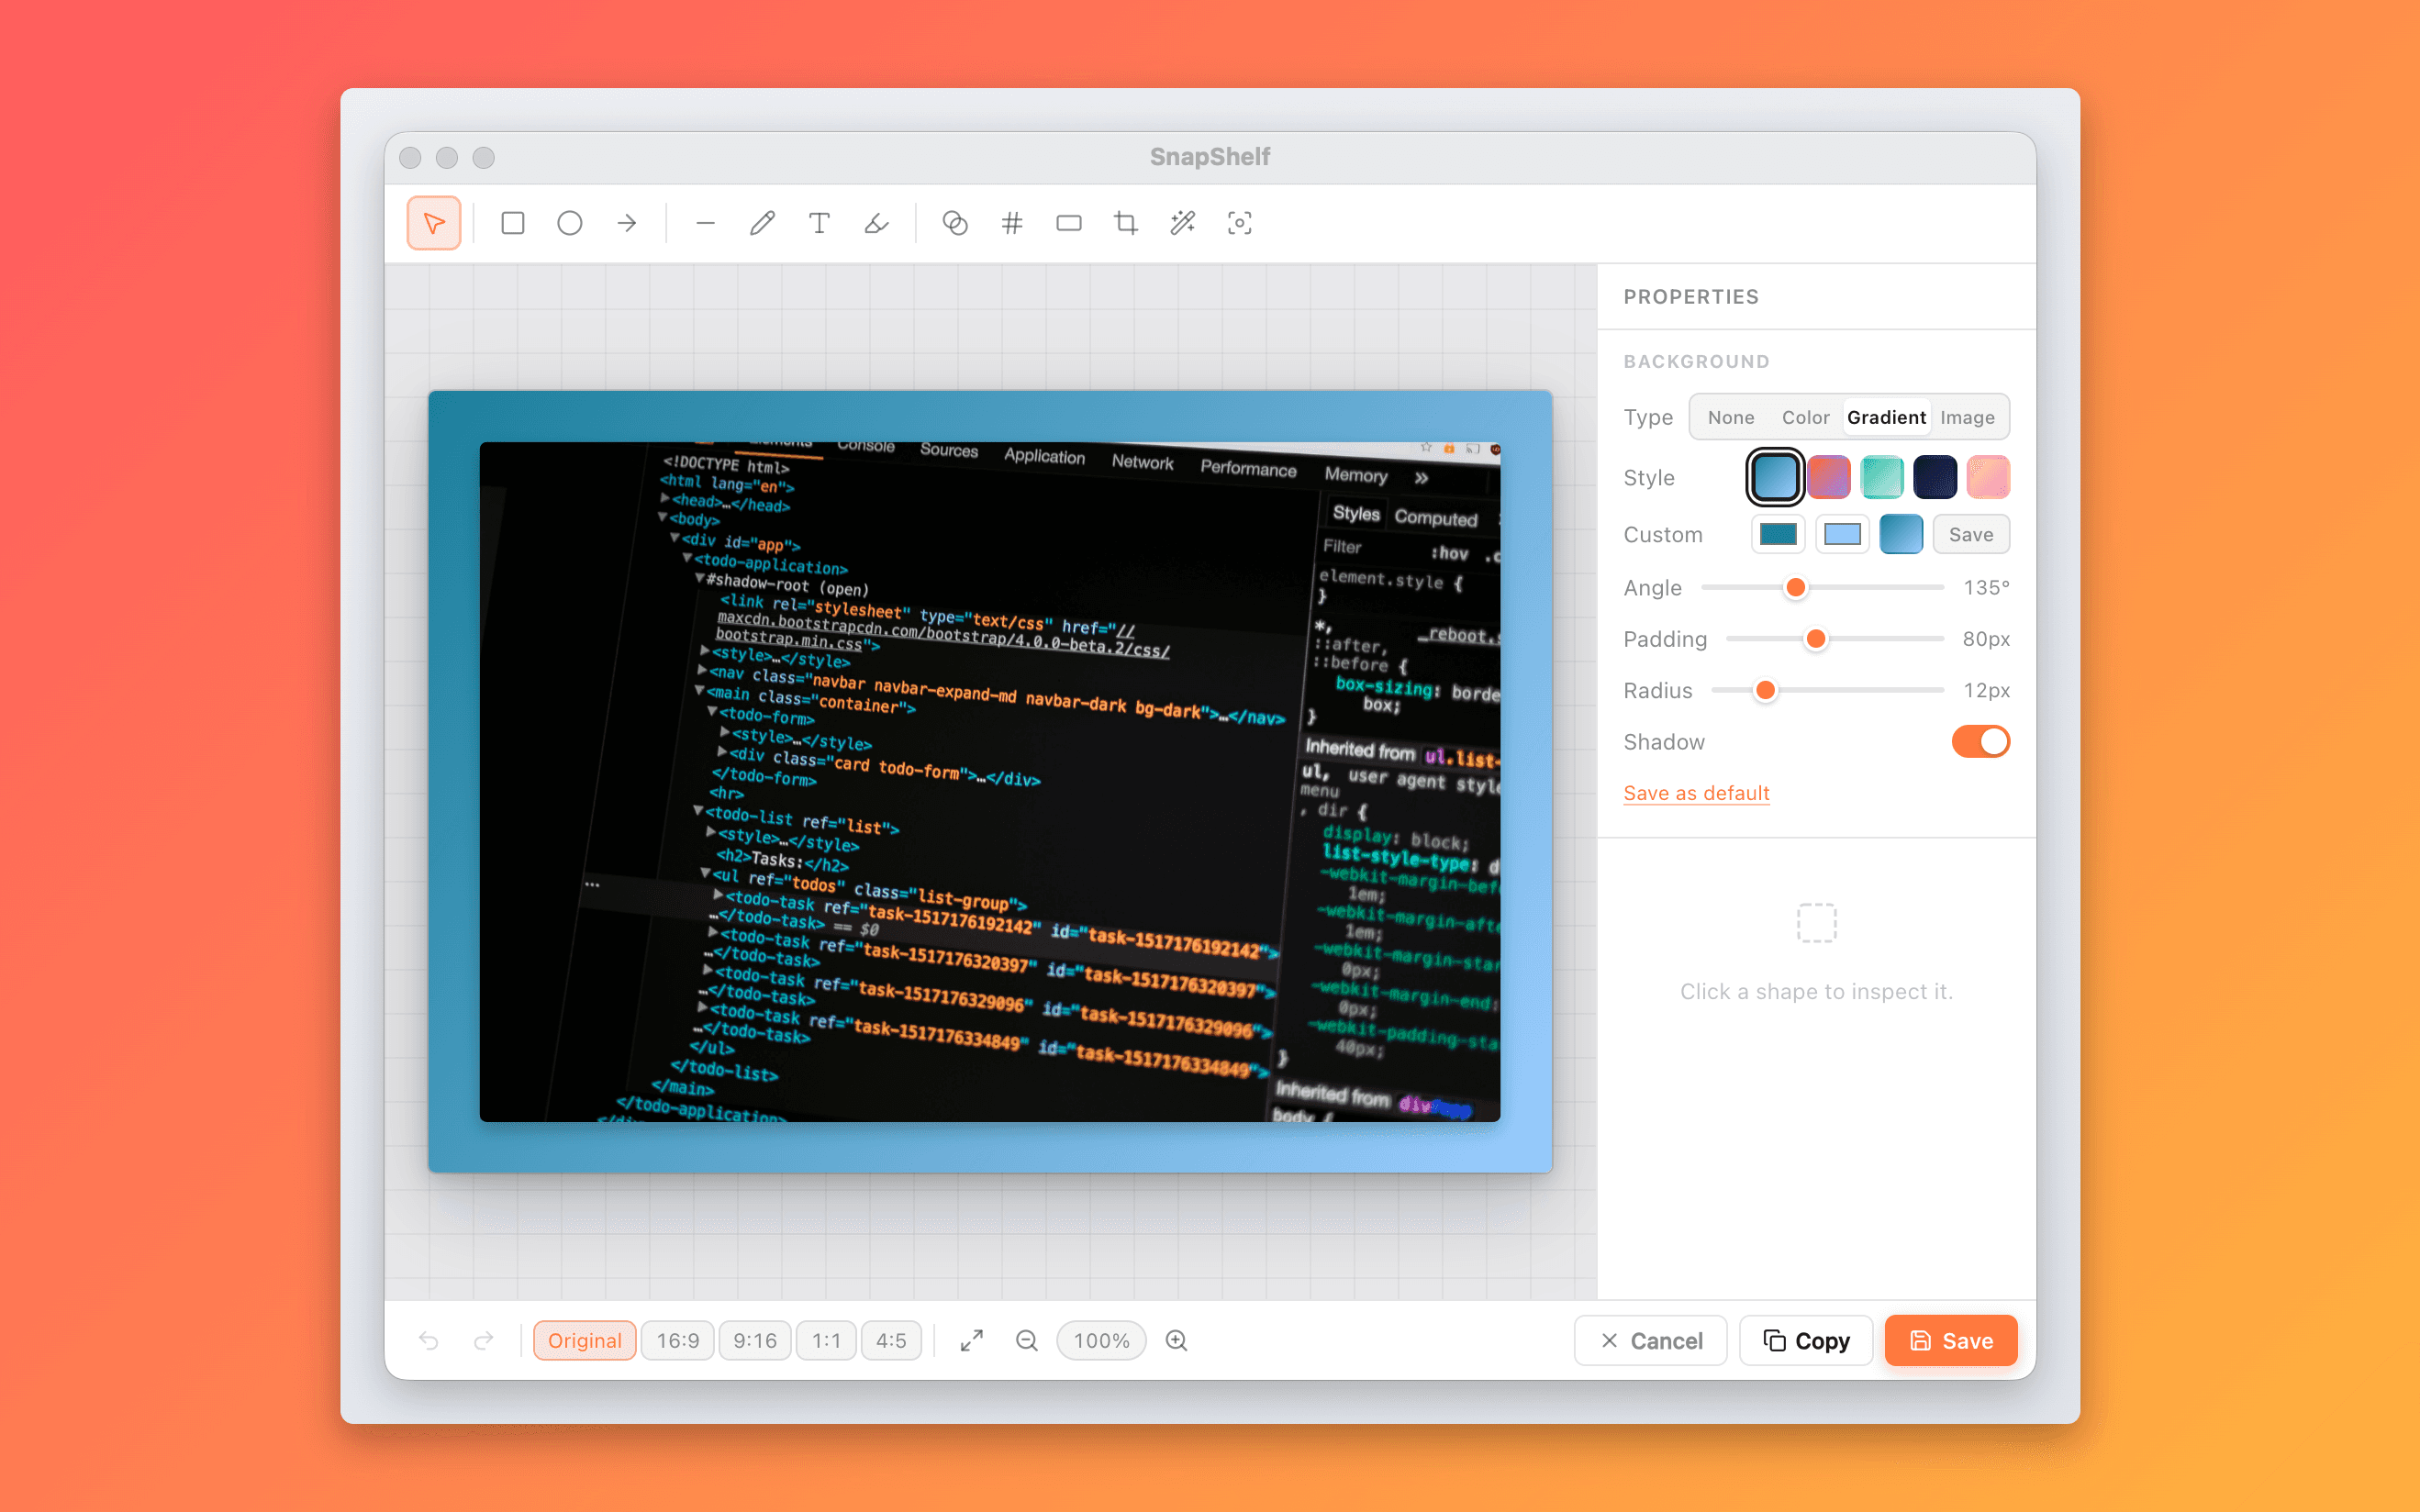
The SnapShelf annotation editor with an arrow, a numbered step badge, and a blurred region over an email address in the sidebar.
What the toolset is for
Every tool in the annotation editor maps to a specific communication failure. Arrows exist because "the button in the top right" is ambiguous when there are three buttons in the top right. Numbered step badges exist because a five-step process explained in prose gets done in the wrong order. Blur exists because the screenshot that best demonstrates the bug also contains a customer’s email address.
Shapes and text handle the rest: a rectangle or ellipse to bound the region under discussion, a text label for the thing that has no name yet. Lines connect two things without implying direction the way an arrow does, the freehand pen circles what a rectangle would over-tidy, and the highlighter lays a translucent wash over a line of text the way a marker would on paper. Crop removes the two-thirds of the screen that is not the point, and select is how you go back and move or restyle anything you have already drawn. Styled buttons let you mock a control that does not exist yet, which is useful in design review when the argument is about placement rather than implementation.
Two one-click actions sit alongside the twelve tools rather than among them: Remove Background and Background Blur, both driven by macOS subject lift. They need macOS 14 or later, and the buttons are simply not shown if the system cannot provide it.
Colour and stroke weight are adjustable per element, which sounds cosmetic and is not. A red arrow over a red error state is invisible. Being able to change it in place, without undoing and re-drawing, is the difference between annotating and fighting the tool.
- 1Click any thumbnail in the gallery to open it in the editor
- 2Pick a tool: select, rectangle, ellipse, arrow, line, pen, text, highlighter, blur, step badge, button, or crop
- 3Draw it, then adjust colour and stroke weight until it reads against the background
- 4For redactions, blur every identifier before you crop — not after
- 5Copy the result to the clipboard, or export to your project folder
Blur is the tool to think carefully about
Redaction in screenshots has a bad track record across the industry, and the failure mode is almost never the blur itself. It is forgetting a second identifier elsewhere in the frame — the account name in the tab title, the email in the sidebar, the internal hostname in the URL bar. Before you blur anything, read the whole frame corner to corner and list what identifies a person or a system. Then blur all of it.
The second discipline is order of operations: blur first, then crop, then export. If you crop first you may reintroduce the assumption that the edges are safe. The exported file itself is not the weak point here — SnapShelf’s blur is a pixelation applied to the pixels, and export flattens the whole canvas to a PNG. There is no annotation project file and no recoverable layer underneath, so the image you hand over is genuinely redacted.
The caveat is the file you did not hand over. SnapShelf writes the redacted copy to a new file alongside the original, named with an "-annotated" suffix, and never deletes or overwrites what you started from. The un-redacted original stays in the project folder and stays visible in the gallery, where it can be synced, shared, or picked by mistake a week later. Delete or move it once the redaction is done — that step is on you, not the app.
For a genuinely hostile audience, blur of any kind is a weaker guarantee than a solid filled shape, because a blur is a lossy transform of the original pixels rather than a replacement of them. For the ordinary case — a bug report seen by your own team, a support ticket, a public changelog — blur is proportionate. For anything that will be read by people who might want to reverse it, cover the region with an opaque shape instead. There is no dedicated redaction tool for this: draw a rectangle over the region and turn Fill on in the Inspector, because shapes default to unfilled outlines and an unfilled box hides nothing at all.
macOS Markup already does some of this
Take a screenshot on a modern Mac and a thumbnail appears in the corner. Click it and you get Markup: arrows, shapes, text, a signature tool, and a shape-based highlight. Open any image in Preview and the same toolset is one toolbar button away. It is free, it is fast, and for drawing one arrow it is completely sufficient.
Three things it does not give you. There is no blur or pixelate tool — Preview’s workaround is drawing an opaque filled rectangle over the region, which works but is manual. There are no numbered step badges, so a multi-step annotation means placing text elements and keeping the numbering straight yourself. And there is no persistence: the corner thumbnail disappears after a few seconds, and if you missed it, you are opening the file in Preview and starting from a saved file on disk.
The last one is the real friction at volume. Markup is designed around the assumption that you annotate the screenshot you just took, right now. SnapShelf’s editor opens on anything in the gallery from any point in the past, which is what you want when a PR comment three days later needs the arrow you did not know you would need.
Where CleanShot X is genuinely better
This is the feature where the honest answer favours the competition. CleanShot X ($29 one-time plus $19/yr to keep updating, verified July 2026, subject to change) has the deepest single-image annotation toolset of anything in this comparison — years of refinement, plus 50+ miscellaneous features around it and broader ecosystem integration. If your work is primarily marking up still images to a high standard, CleanShot is the more refined tool and we are not going to pretend otherwise.
What SnapShelf’s editor gives up in depth it makes back in what surrounds it: the same editor handles backgrounds, OCR, and crop, opens on any capture in an auto-filed searchable gallery, and sits next to a recorder and a multi-track video editor that CleanShot does not have. And there is no annual update fee.
Shottr is free and covers fast annotation plus pixel-measurement and design-inspection tools SnapShelf does not have. Xnapper ($17) is deliberately simple and aimed at beautifying rather than marking up. Snagit’s strength is templated, long-form documentation output, on a $39/yr subscription since 2025.
Try SnapShelf
$49 once — 2 years of free updates, no subscription, and everything stays on your Mac. 30-day money-back guarantee.
macOS 13+ · Apple Silicon & Intel
FAQ
Questions, answered
Everything you need to know before buying.
Yes — blur is one of the twelve editor tools, alongside select, rectangle, ellipse, arrow, line, pen, text, highlighter, crop, step badges, and styled buttons. It pixelates, and the export is a flattened PNG with no layer underneath, so the redacted copy is safe. For anything a determined reader might try to reverse, draw a rectangle and switch Fill on in the Inspector for a solid opaque box. Then delete the original — SnapShelf saves the redacted version as a separate "-annotated" file and leaves the un-redacted one in place.
Stop hunting for screenshots. Start shipping.
Every capture filed, annotated, recorded with cursor auto-zoom, and one right-click away from your Claude Code session. One-time $49, yours forever.
30-day money-back guaranteeOne-time purchase2 years of free updatesLocal-only datamacOS 13+ · Apple Silicon & Intel