Every macOS screenshot keyboard shortcut
On macOS 13 Ventura and later, ⌘⇧3 captures the whole screen, ⌘⇧4 a region, ⌘⇧4 then Space a window, and ⌘⇧5 opens the recording toolbar — adding Control copies to the clipboard instead of saving a file.
Last updated
The macOS capture modes side by side — full screen, region crosshair with pixel coordinates, and window selection.
The four capture shortcuts
⌘⇧3 captures your entire screen immediately. On a multi-display setup it writes one file per display, so a two-monitor Mac produces two files from one keypress.
⌘⇧4 turns the pointer into a crosshair with pixel coordinates next to it. Drag to select a region and release to capture it. Press Esc to cancel without capturing.
⌘⇧4 then Space switches the crosshair to a camera icon. Move it over any window and that window highlights; click to capture just that window, cleanly cut out with its rounded corners, transparency, and a drop shadow. It works on menus, dropdowns, and the Dock too. Hold Option while you click to capture the window without the drop shadow — worth knowing, because that shadow adds a lot of transparent padding you usually do not want in documentation.
⌘⇧5 opens the Screenshot toolbar, which is the discoverable front end for all of the above plus screen recording. It offers Capture Entire Screen, Capture Selected Window, and Capture Selected Portion, along with Record Entire Screen and Record Selected Portion, plus an Options menu. Esc dismisses it.
⌘⇧6 captures the Touch Bar. It only does anything on a Mac that has a Touch Bar, which means certain Intel MacBook Pro models — no current Apple Silicon MacBook Pro ships with one.
Control: capture to the clipboard instead of a file
This is the single most useful modifier on the list and the one most people never learn. Hold Control alongside any capture shortcut and macOS puts the image on your clipboard instead of writing a file to disk.
⌃⌘⇧3 copies the full screen. ⌃⌘⇧4 copies a selected region. ⌃⌘⇧4 then Space copies a window. ⌃⌘⇧6 copies the Touch Bar.
The reason it matters is Desktop clutter. If you are pasting a screenshot straight into Slack, a PR comment, or a doc, you never wanted a file — and the default behaviour leaves you with Screenshot 2026-07-20 at 14.32.11.png sitting on your Desktop forever. Building the Control-key habit is the cheapest fix to a messy Desktop there is.
The trade-off is that the capture only exists on the clipboard. Copy anything else before you paste it and it is gone with no way to recover it. That is the tension: file-first means clutter, clipboard-first means loss. Tools that do both — writing the file and putting it on the clipboard at the same time — exist precisely because neither default is right.
Modifiers you can hold while dragging a region
Once the ⌘⇧4 crosshair is active and you are mid-drag, three keys change what the drag does. These are held during the drag, not before it, and they are the difference between getting the selection right on the first attempt and re-dragging four times.
Hold Space to move the entire selection. Size stays locked and the whole rectangle follows the pointer, which is how you fix a selection that is the right dimensions but started twenty pixels too far left. Release Space to carry on resizing.
Hold Shift to lock every edge except one, so you adjust a single dimension while the rest stays exactly where it is. Useful when the width is right and only the bottom edge needs to come down.
Hold Option to resize from the centre. Both opposite edges move together and the centre point stays fixed — handy for framing something symmetrically around a fixed element.
You can combine them: Option and Shift together resize one dimension from the centre. And Esc at any point cancels the whole thing.
Two more details for precision work. The crosshair displays live pixel coordinates as you drag, so you can hit an exact size deliberately. And in ⌘⇧5 there is a Remember Last Selection option, which means repeated captures of the same region — the standard case for documentation — keep identical dimensions without you measuring anything.
The ⌘⇧5 Options menu, and changing where files go
Everything configurable about the built-in tool lives behind the Options button in the ⌘⇧5 toolbar. It is worth opening once.
Save to sets the destination. The default is Desktop, and the menu offers Documents, Clipboard, Mail, Messages, Preview, and Other Location. Pointing this at a dedicated folder is the standard fix for a Desktop covered in screenshots.
Timer offers None, 5 seconds, or 10 seconds — the only way to capture a state that disappears when you press a key, such as an open menu that closes on focus loss.
Show Floating Thumbnail controls the preview that appears in the bottom-right corner after a capture. Left on, you can click it to open Markup immediately, drag it straight into another app without ever touching the file, or swipe it right to dismiss and save at once. Turned off, captures save silently with no delay. Both are defensible; the thumbnail is genuinely useful for drag-and-drop and genuinely annoying if you capture in bursts.
Remember Last Selection keeps your previous region for the next capture. Show Mouse Pointer includes the cursor in the image or the recording. And under recording there is a Microphone section — note that it is microphone only, which is why capturing system audio on macOS is a separate problem with its own guide.
Screenshots save as PNG by default, named Screenshot followed by the date and time. Changing the format or the filename prefix requires defaults write commands in Terminal rather than anything in this menu.
- 1Press ⌘⇧5 to open the Screenshot toolbar
- 2Click Options
- 3Under Save to, choose Other Location and pick a dedicated folder such as ~/Pictures/Screenshots
- 4Set Timer to 5 seconds if you need to capture menus that close on keypress
- 5Toggle Show Floating Thumbnail off if you capture in bursts and do not want the delay
- 6Press Esc to dismiss — the setting persists for future captures
Where the built-in shortcuts stop
For a large share of captures, the shortcuts above are all you need, and you should not buy anything to replace them. They are fast, they are free, and they are already on your Mac.
They run out in five specific places. There is no scrolling capture, so anything taller than your screen has to be stitched by hand. There is no annotation beyond Preview’s Markup, which means no arrows with consistent styling, no step-number badges, and no blur tool. There is no OCR, so text in a screenshot has to be retyped. There is no organisation — every file lands in one flat folder with a timestamp name, and finding the screenshot from two weeks ago means scrubbing thumbnails by date. And there is no GIF export, so a recording stays a .mov.
You can also only reassign, not extend, the shortcuts themselves. System Settings → Keyboard → Keyboard Shortcuts → Screenshots lets you change or disable each one, which is mainly useful for freeing a combination that another app wants.
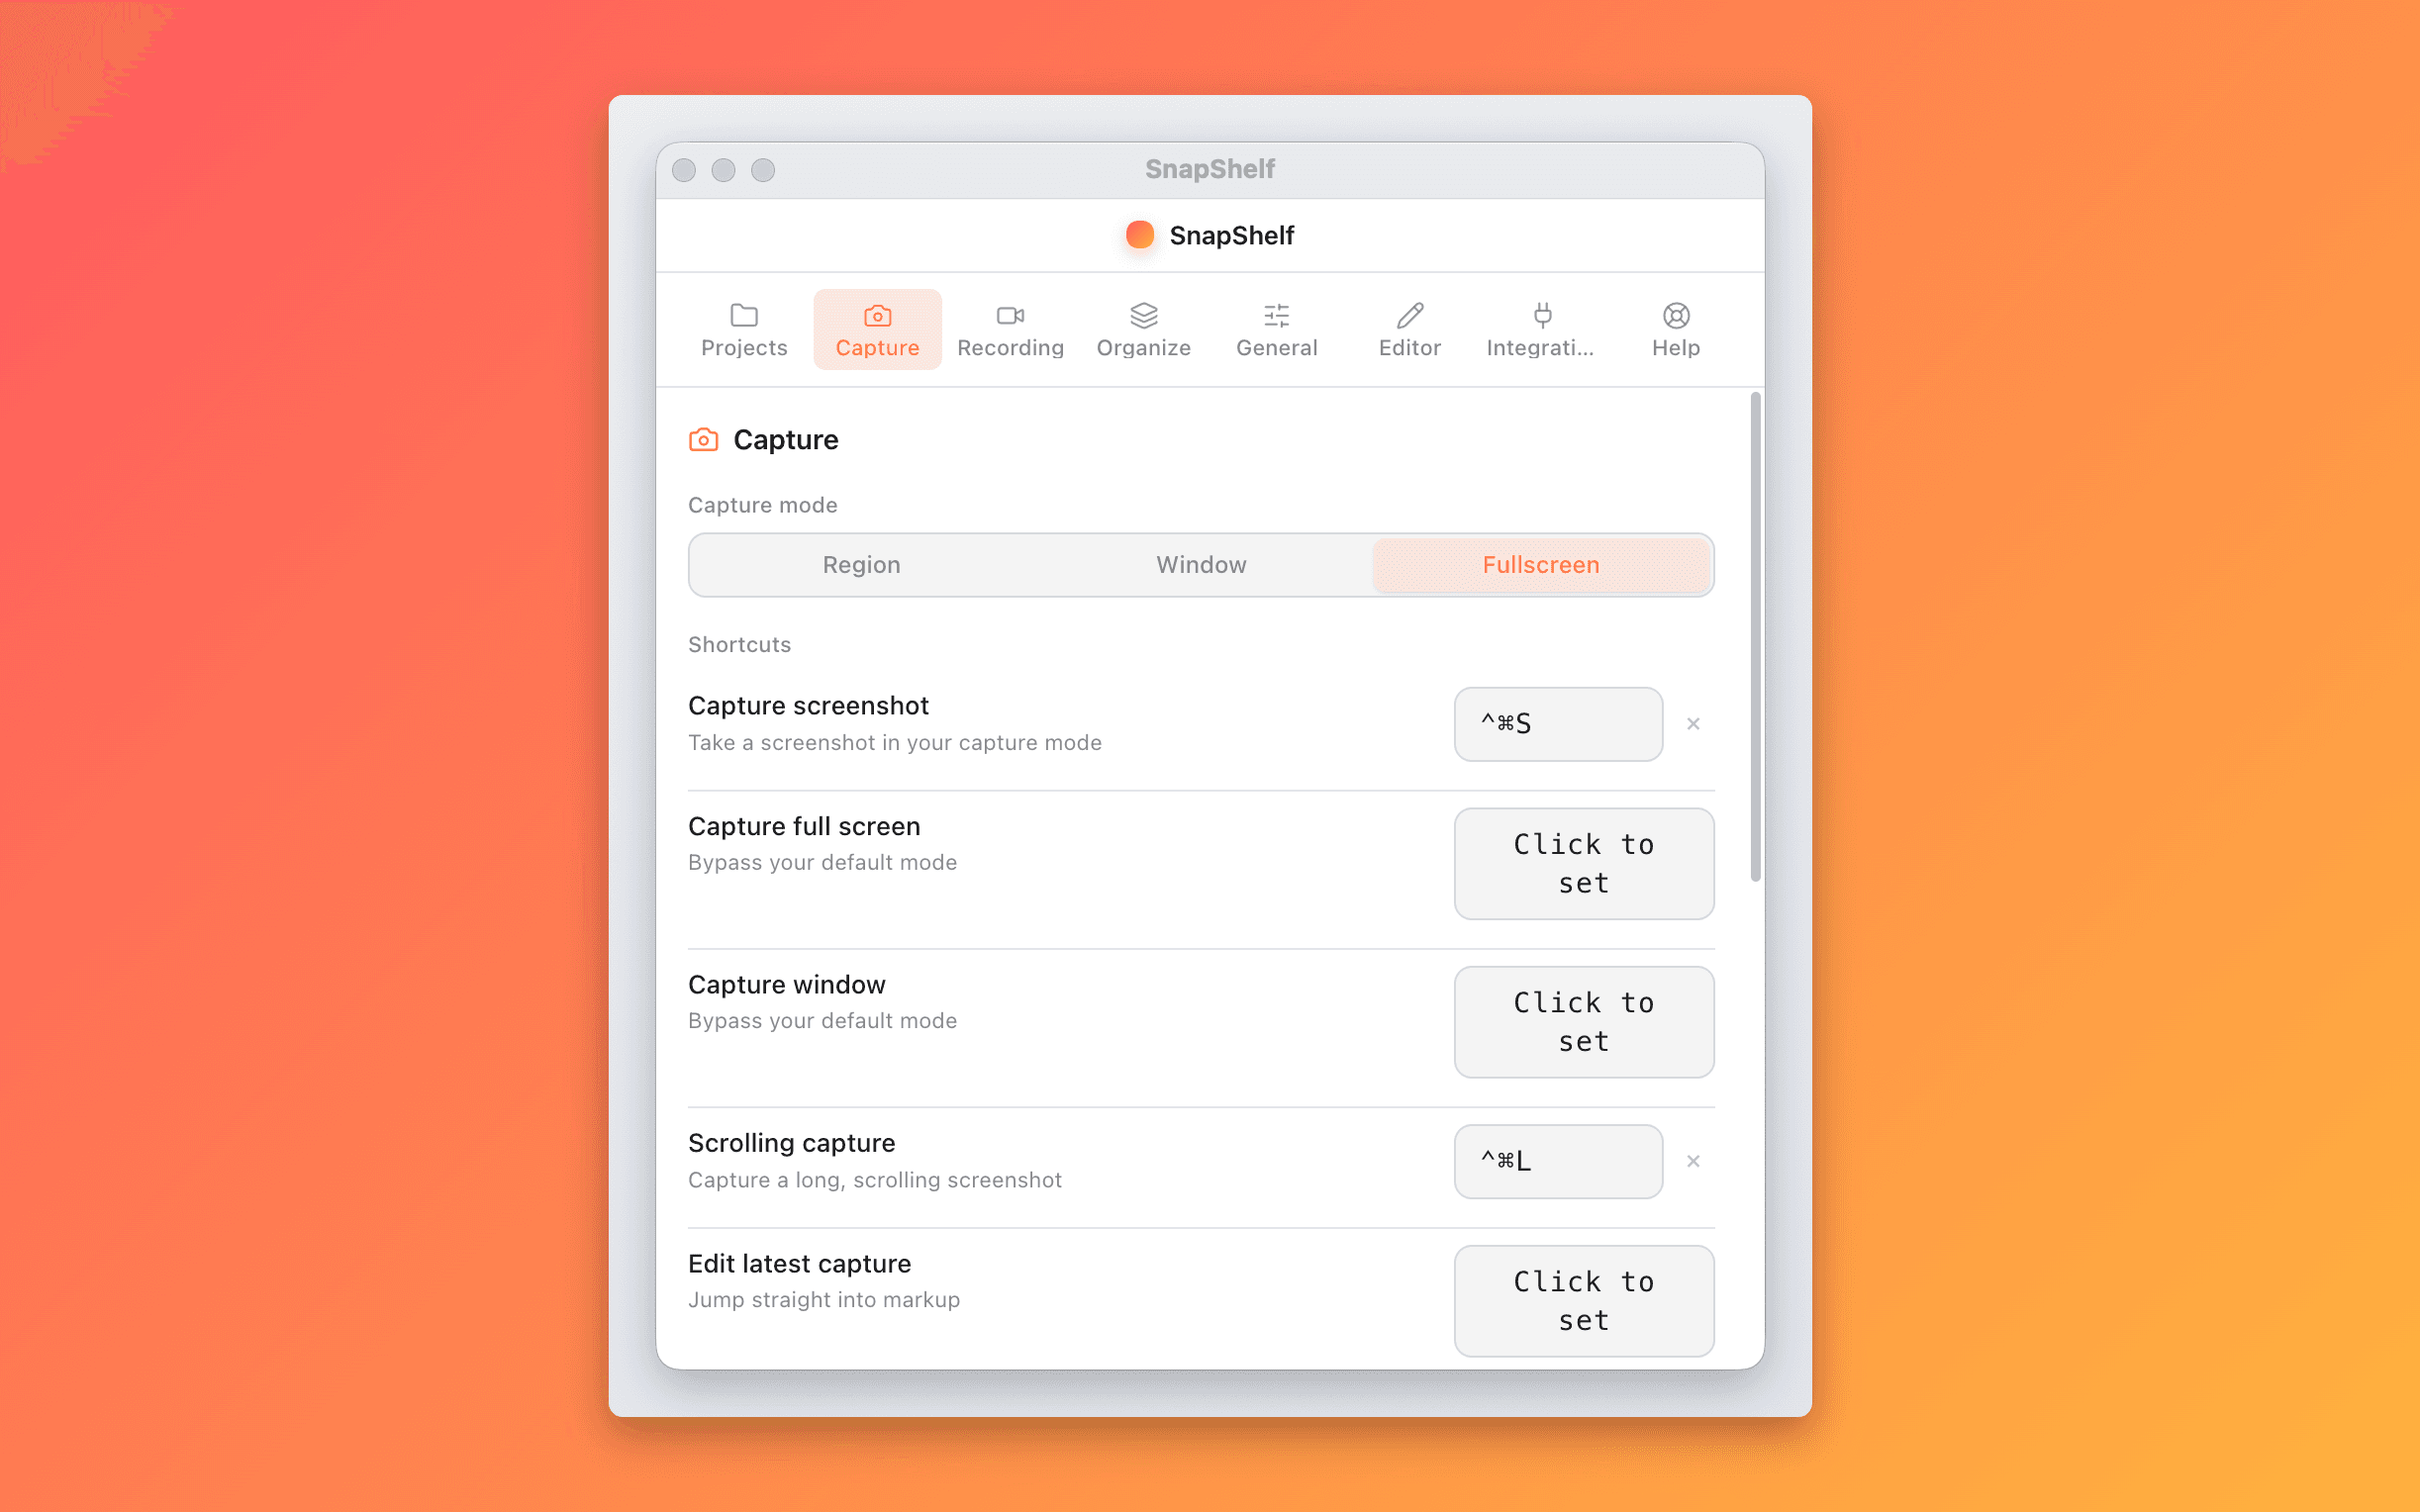
SnapShelf ($49 one-time, macOS 13 Ventura and later, universal binary) adds those five things and keeps the same keystroke-driven feel — region capture on ⌃⌘S, recording on ⌃⌘R, and scrolling capture on ⌃⌘L out of the box, with the rest of the actions shipped unbound for you to assign; every capture on the clipboard immediately; and auto-filing that routes a capture to a project folder based on the frontmost app and window title, once you have written a rule, since none ship by default. Which is the honest framing: the built-in shortcuts are not bad, they are just unopinionated about what happens after the capture.
Try SnapShelf
$49 once — 2 years of free updates, no subscription, and everything stays on your Mac. 30-day money-back guarantee.
macOS 13+ · Apple Silicon & Intel
FAQ
Questions, answered
Everything you need to know before buying.
Hold Control alongside the capture shortcut. ⌃⌘⇧3 copies the whole screen to the clipboard, ⌃⌘⇧4 copies a selected region, and ⌃⌘⇧4 then Space copies a window. Nothing is written to disk, so paste it before you copy anything else.
Stop hunting for screenshots. Start shipping.
Every capture filed, annotated, recorded with cursor auto-zoom, and one right-click away from your Claude Code session. One-time $49, yours forever.
30-day money-back guaranteeOne-time purchase2 years of free updatesLocal-only datamacOS 13+ · Apple Silicon & Intel